Hi my friends! I have so excited to share a brand new sewing project with you today. My best friend shared with me a pattern for making cord keepers. It’s a Facebook reel and you can watch it here. This is such an easy project perfect for gift giving. And I made 2 of them in under 30 minutes and I’m a newbie at sewing!
What you Need
- Scrap fabric
- Fusible interfacing
- Elastic hair tie
- Thread & needle
- Button
- Iron or heat press
Putting it Together
I cut my front and back fabric 2-1/2″ x 4-1/2″ and my interfacing 1-3/4″ x 3-3/4″. I used light fusible interfacing I bought from Dollar Tree, but if I make these again, I’ll try heavyweight interfacing for extra strength. That said, light interfacing works just fine! 😄
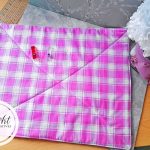
After pressing the interfacing to the wrong side of the fabric, I clipped (or you can pin it) my elastic tie to the top center. Then I placed the back fabric pretty side down and marked a 1/4″ opening at the bottom for turning it right side out. I sewed around the edges, stopping at that opening.
Next, I clipped the edges with scissors (careful not to cut your stitches!), gently turned the fabric right side out, and used a wooden chopstick to push out the corners. I pressed it, folded the opening just a smidge and top-stitched all around.
Finishing Up
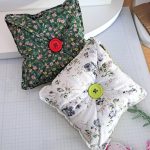
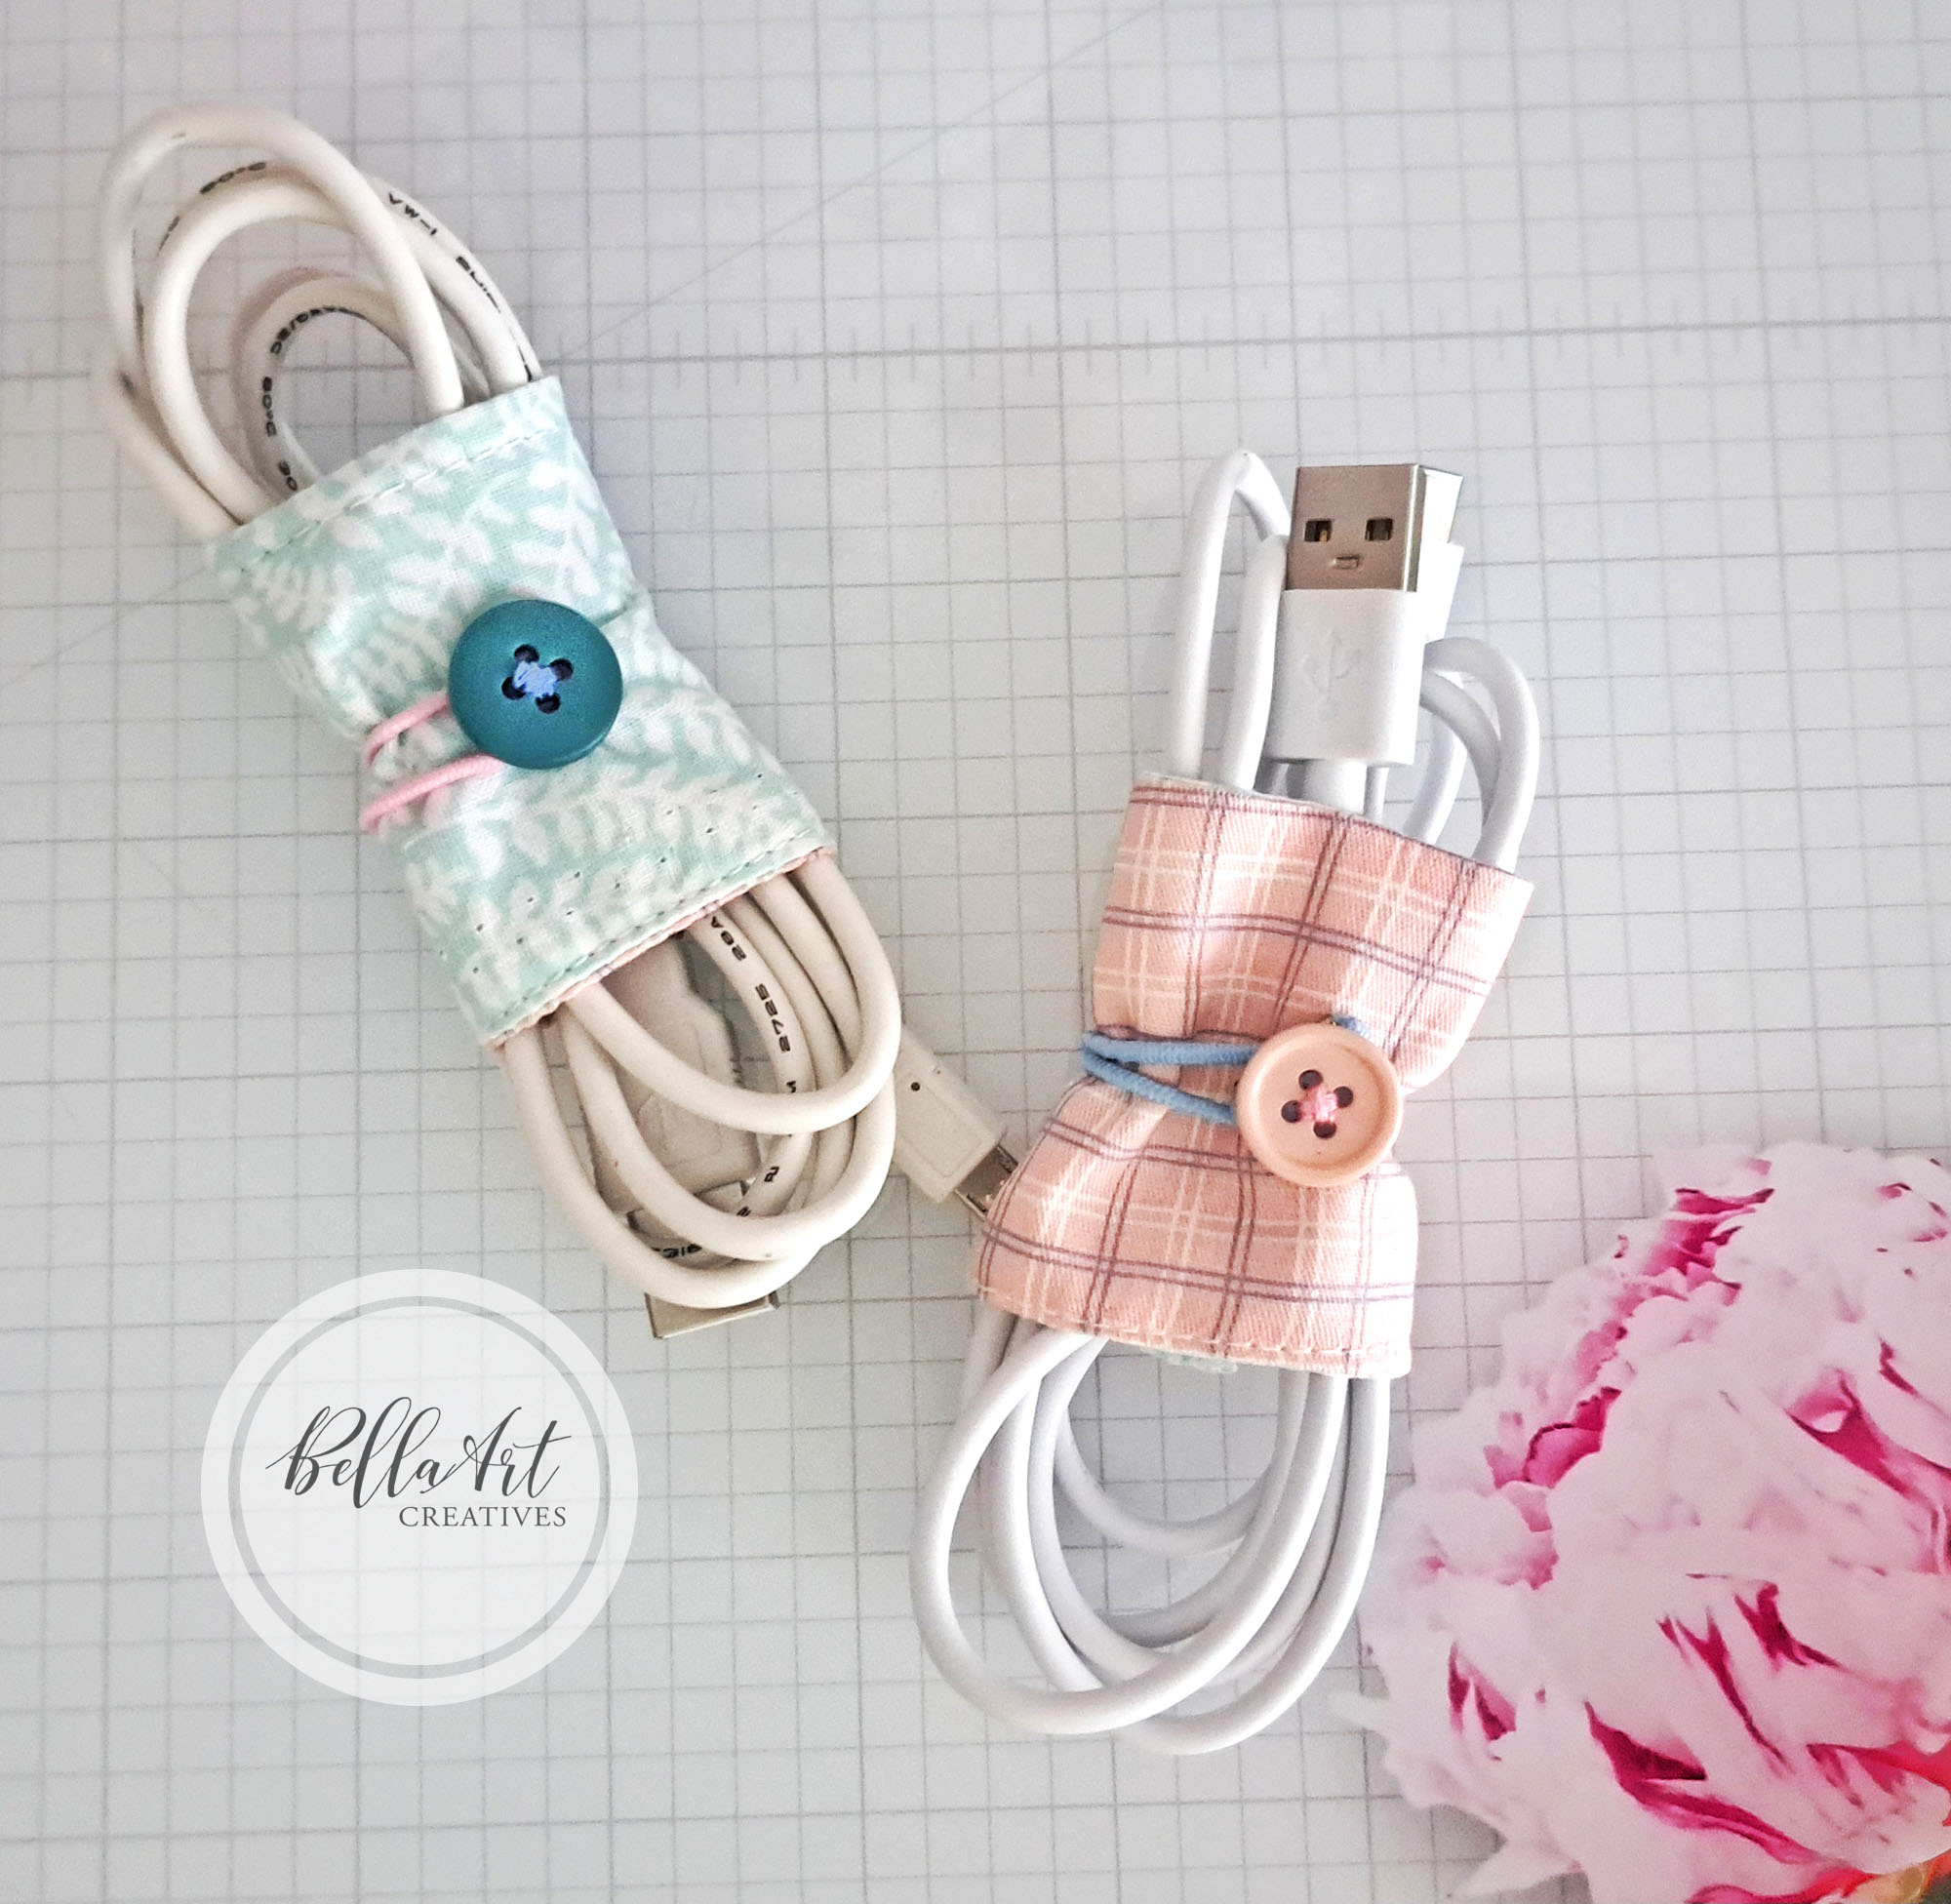
Last part is sewing on the button 🧵 for the closure. NOTE: the reel doesn’t show how she sewed her button so the first one I made I went through front to back of the fabric and of course didn’t realize it in time, so I had to make the back look somewhat better by stitching it to look like a circular shape but on the 2nd one, I didn’t sew the button through to the back so the stitches are hidden. Lesson Learned! 💡
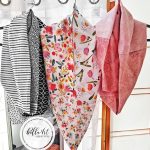
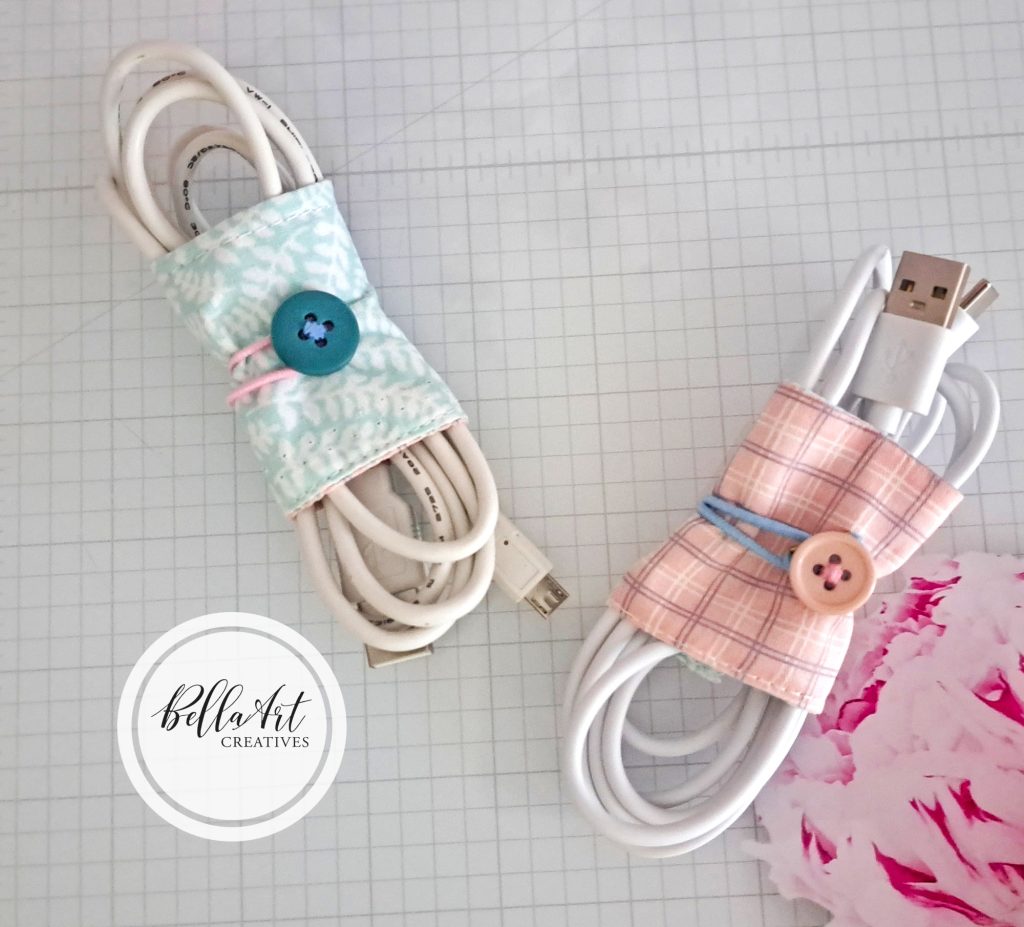
Finally, I grabbed a couple of cords, wrapped the cord keeper around them, and looped the elastic around the button to seal. I had to twist mine a couple of times because my elastic was a bit long.
Aren’t they the cutest?

I had so much fun making these that I know I’ll be making more as gifts! My sewing adventures are getting better every day. ✂️ And stay tuned—something fashionable I just finished is coming soon, and I’m super-duper excited to share it with you!
Thanks for reading! 💖

Some of the links to the products I used are affiliate links which means that when you shop with them, I’ll receive a small commission at no extra cost to you. Your support helps me run my small crafty business. Thank you so much!
- Brother XR3774 Sewing Machine
- Rulers for Sewing/Quilting (set of 5)
- Scissors or Guggenhein IX 9″ Scissors for Cutting Fabric
- Multi-purpose Sewing Clips | Large sized Sewing Clips
- 110/18 Size Universal needles for the Brother sewing machine
- Fusible Interfacing (Lightweight from Dollar Tree) or here on AZ