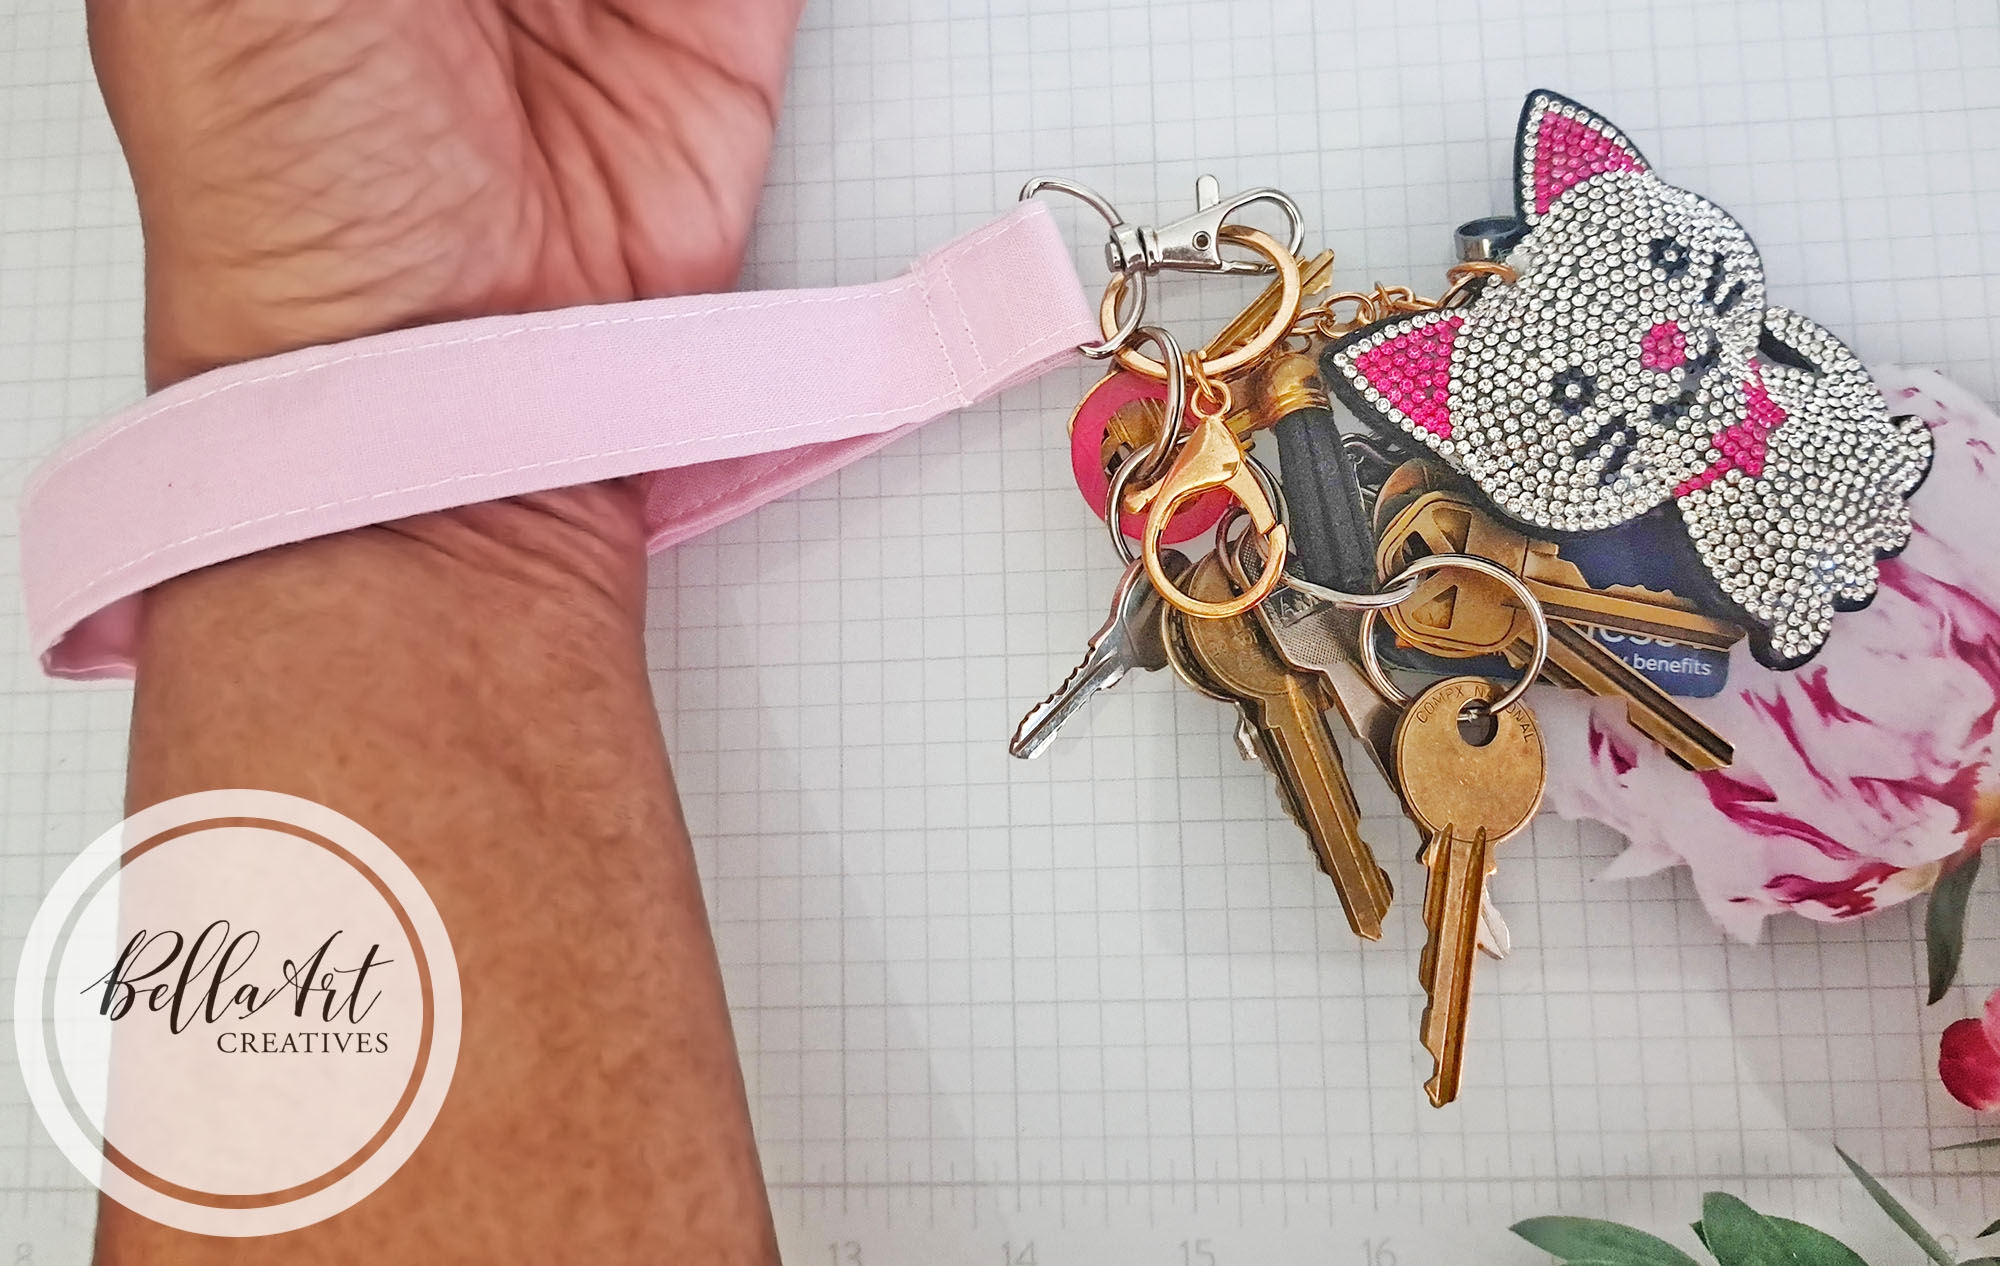
Hey my friends! Today, I’m sharing a new project in my Sewing journey – wristlet key fobs! Now, after I watched this video that came up in my YT feed, I was intrigued because I had never heard of fabric key fobs before so I had to look this up! It is…
A fabric key fob is a small, handmade accessory made from fabric that is attached to a key ring or worn on the wrist to keep keys organized and easily accessible. Source: Google Search
I watched this video from Tamara’s Joy, whom I follow on YT because she showcases easy sewing projects for beginners like myself! Her video shows 3 ways to make these and I chose version 3 because for me as a newbie, it seemed to be the easiest! I have embedded the video below but you can also watch it on YT here.
I love this project for these reasons:
- It’s a functional item where you can keep your keys close to you if you’re carrying bags or holding a child.
- It’s a great project for using up scrap fabrics and I’ve been accumulating a lot of scraps!
- It’s an easy and quick project to make, I made 2 in less than 30 minutes and I had never made these before!
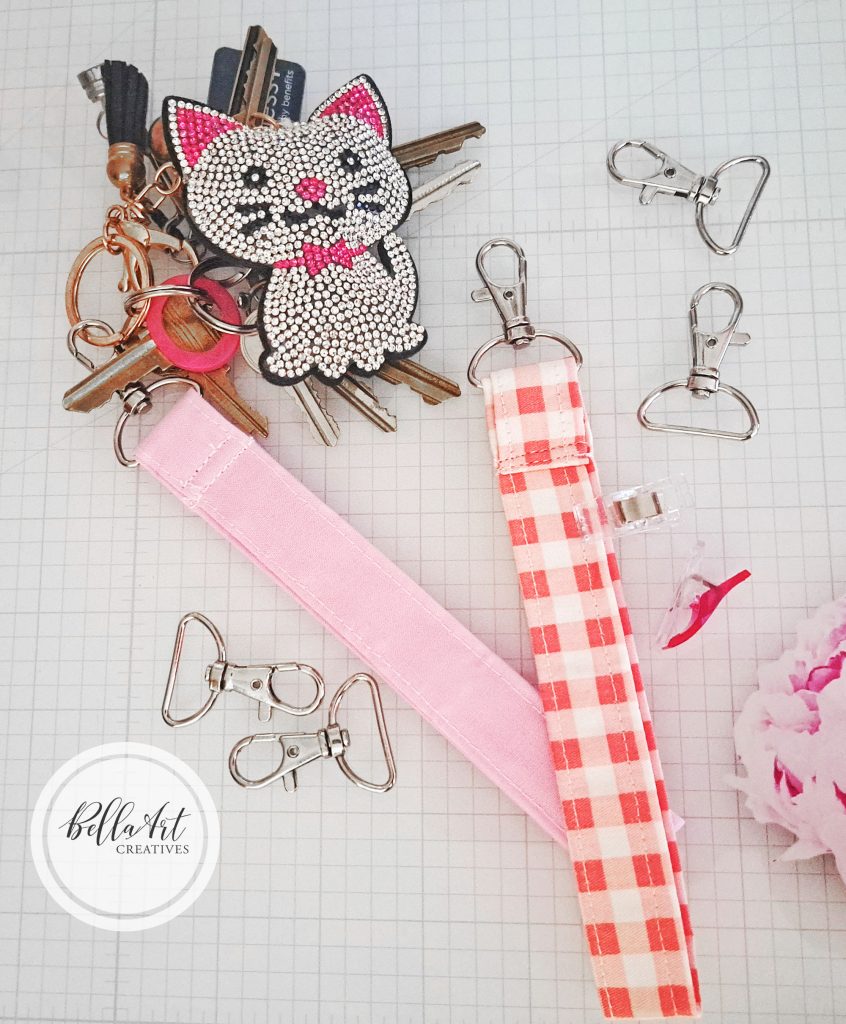
- And, you only need two other items besides fabric: (1) 1 inch lobster clasps which is very affordable on AZ and (2) fusible interfacing which you can pick up at Dollar Tree! It’s lightweight and works great. I’ll talk about how I omitted interfacing on the pink key fob that I made below.
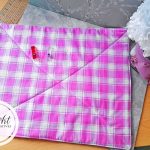
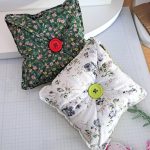
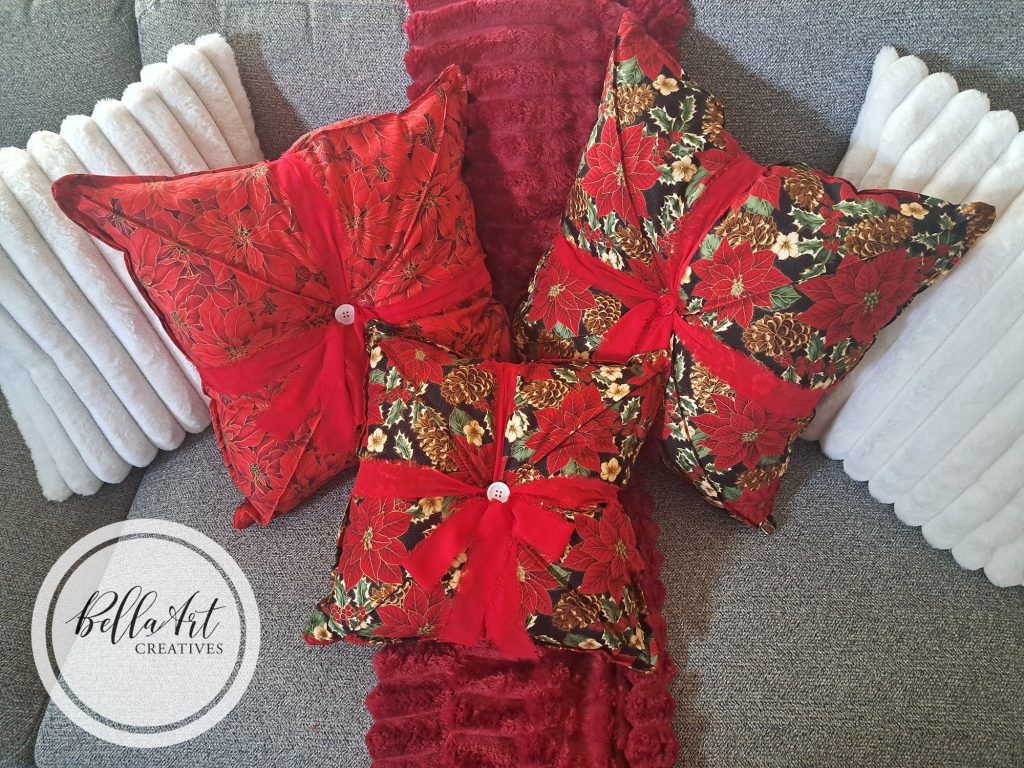
The first one I made (red/white), that fabric is 100% cotton but it’s a lighter weight than the pink fabric and I did use interfacing in the center. I made a boo-boo when sewing it where I didn’t keep the fabric lined up so my stitches weren’t straight and you can tell that in the picture. But, I was not going to go away defeated… I tried again!
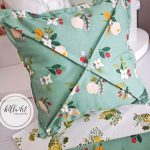
The 2nd time, I used a thicker weight cotton fabric and no interfacing because as you fold the fabric onto itself (refer to the video tutorial), it gets heavier and I felt like it didn’t need batting or interfacing and it worked out better for my sewing machine as well. I didn’t want to use my walking foot to help me sew over thick layers, guess I was being lazy! :O
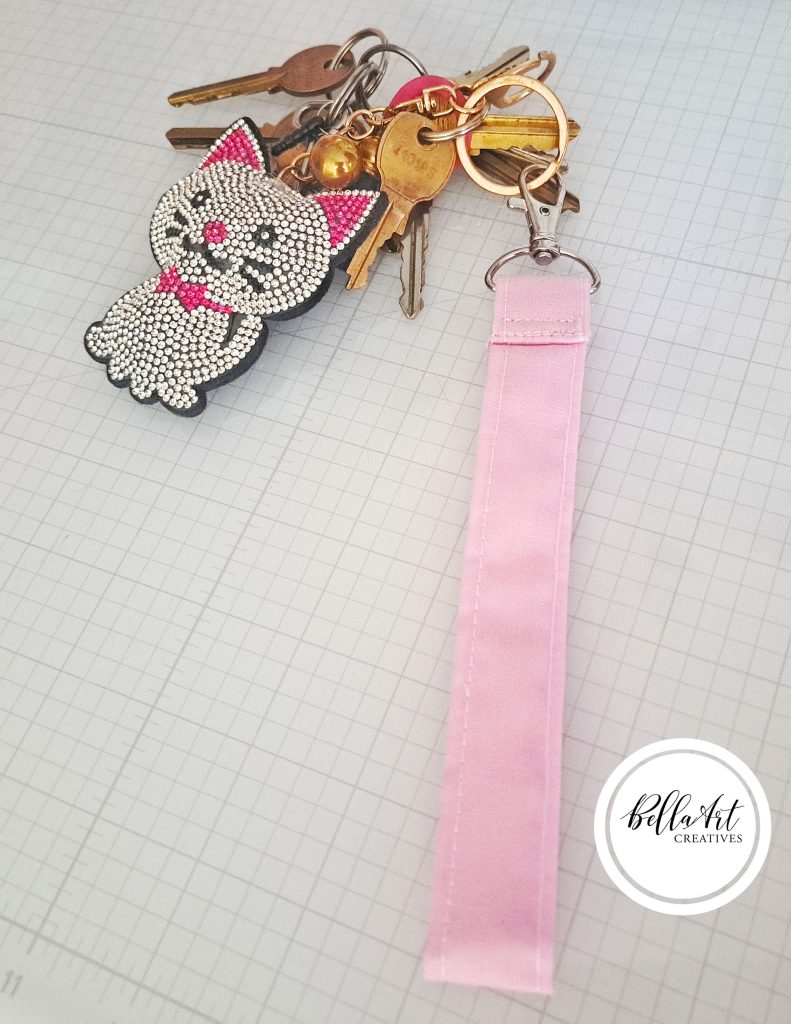
See how the red/white key fob is not lined up properly? That’s because I wasn’t paying as close attention as I should have. I caught it only after I had finished sewing up so I made sure not to get too distracted when I made the pink one and it turned out much better.
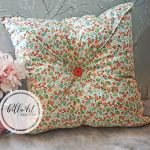
In fact, I want to make more of these for gifts! Easy, quick and cute! I love that combo! I’ll have links to the products I used below!
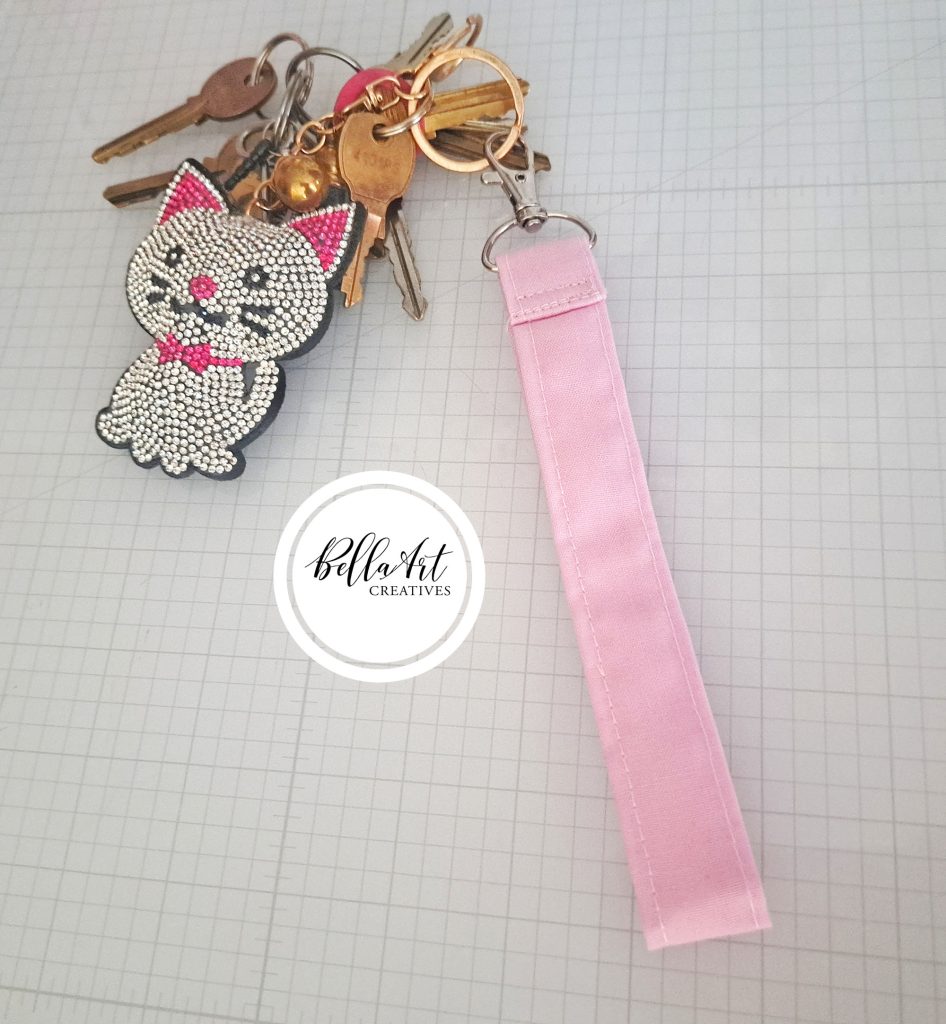
I’m even proud of how my straight stitching is going! I’m doing better at sewing straight lines but I’m also continuing to practice! Thanks for Reading!
Some of the links to the products I used are affiliate links which means that when you shop with them, I’ll receive a small commission at no extra cost to you. Your support helps me run my small crafty business. Thank you so much!

- Brother XR3774 Sewing Machine
- Rulers for Sewing/Quilting (set of 5)
- Scissors or Guggenhein IX 9″ Scissors for Cutting Fabric
- Multi-purpose Sewing Clips | Large sized Sewing Clips
- 110/18 Size Universal needles for the Brother sewing machine
- Fusible Interfacing (Lightweight from Dollar Tree) or here on AZ
- 1 Inch Lobster Clasps