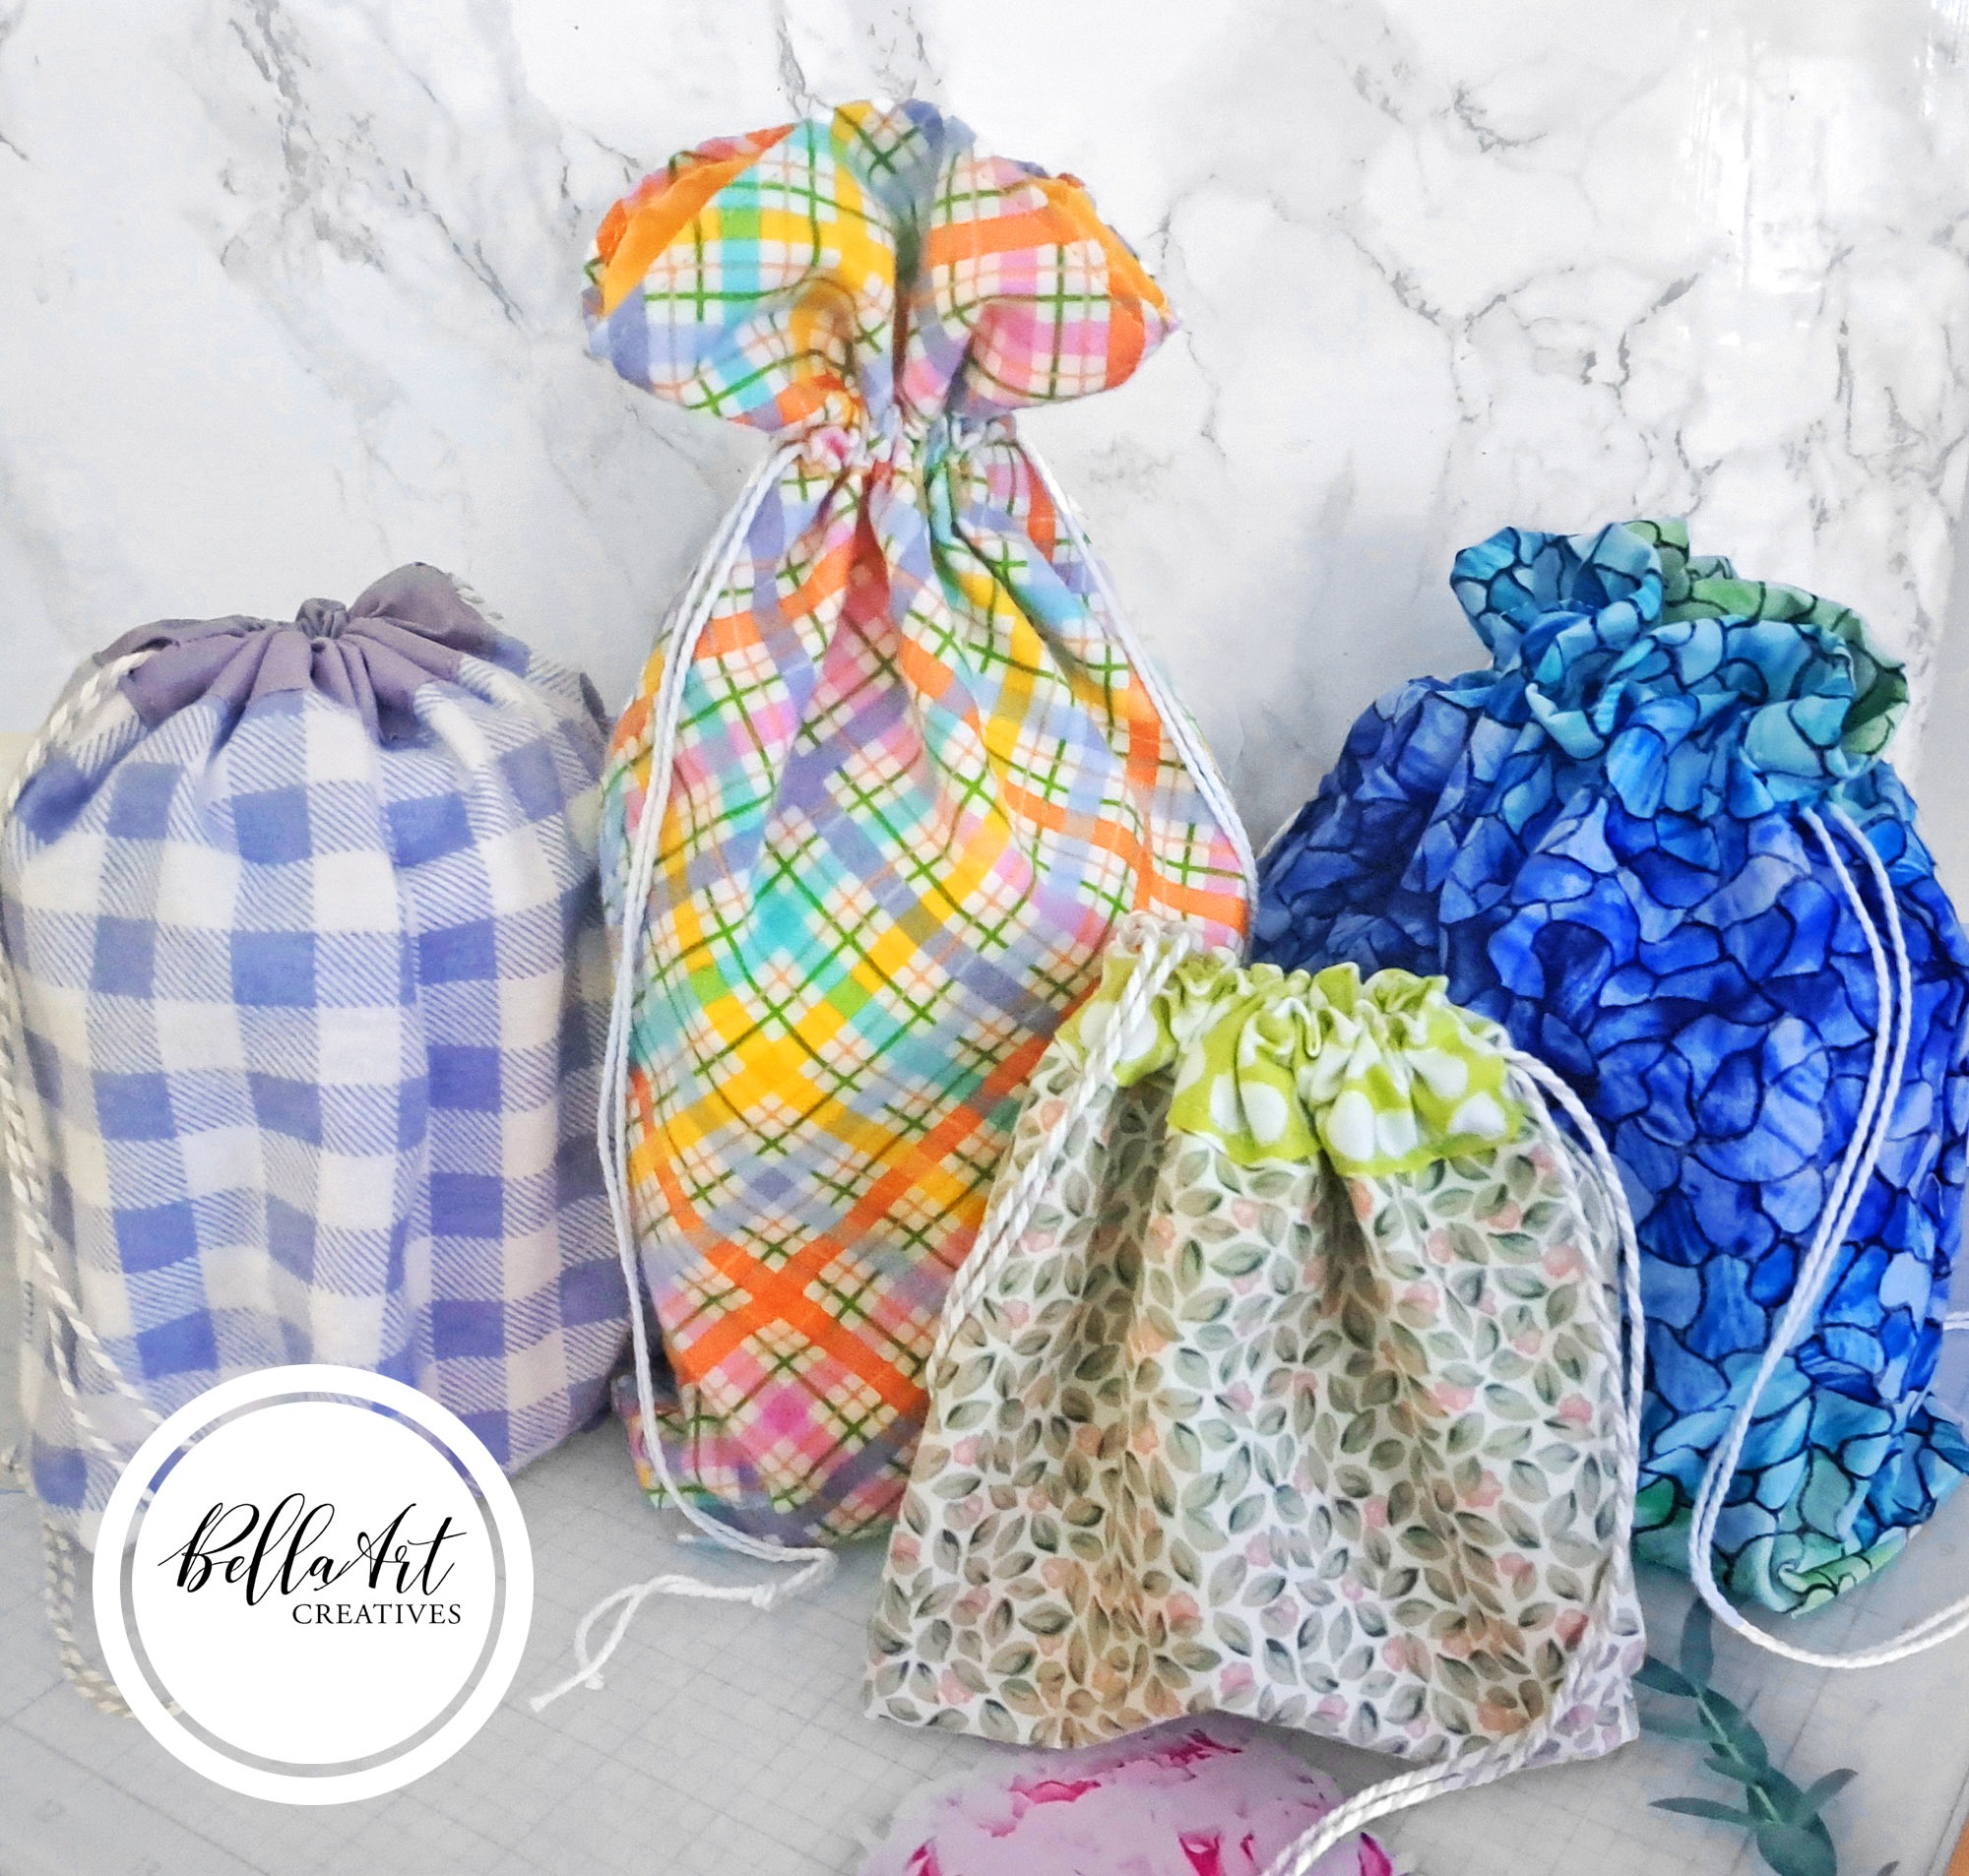
Hey my friends! Hope your day is lovely! Today, I’m sharing my latest sewing project — lined drawstring bags made from 2 different patterns! I think they came out super nice and it’s an easy enough pattern (both of them) that I can see myself making a ton of these bags.
So first off, which 2 ways did I make my bags?
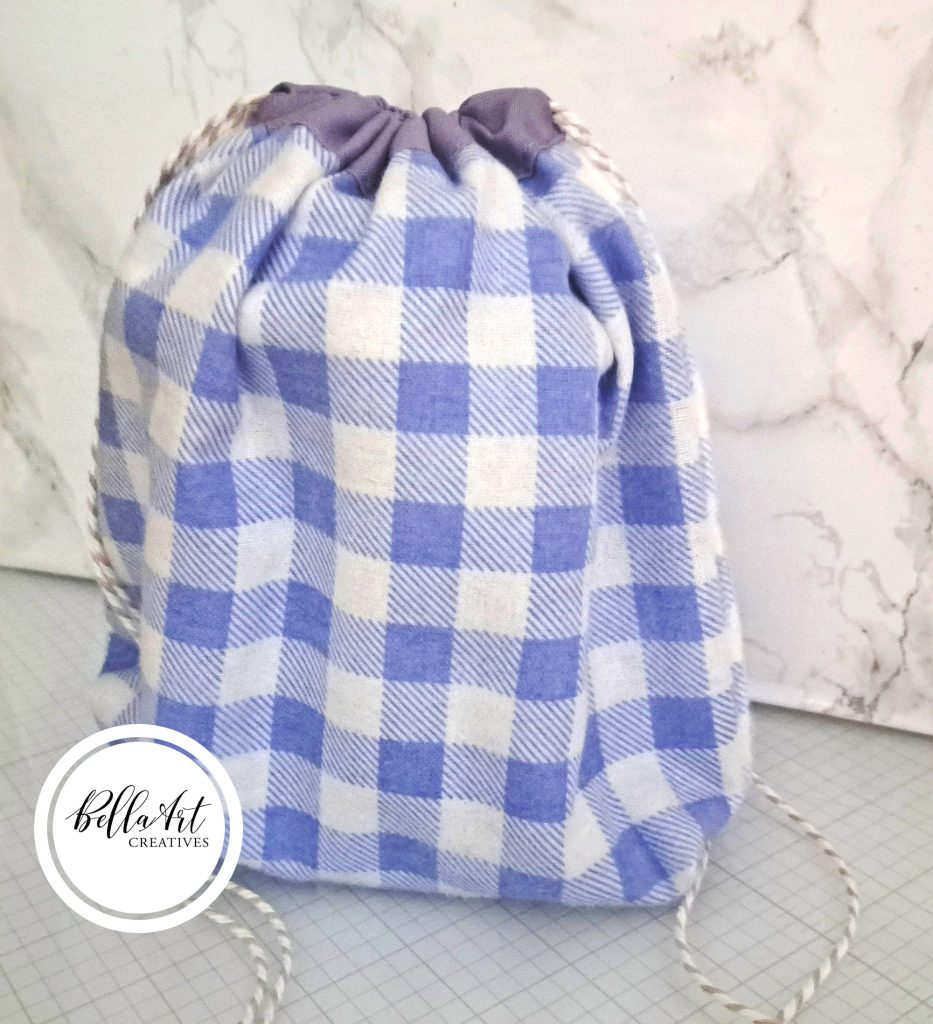
The first pattern I came across on YT was making the bag with the drawstring feature at the very top of the bag and this was my favorite way but I also wanted to make a bag where part of the fabric is scrunched together at the top and that required a different method of sewing.
So first, I’m sharing the video I followed when I made 2 of these bags (the periwinkle check pattern and the olive green with all the leaves) below but you can also catch on YT here. I followed her instructions to the letter and both of these bags were done in less than 30 minutes! So, so easy!
I can’t remember the measurements for my smallest size bag, apologies for that!
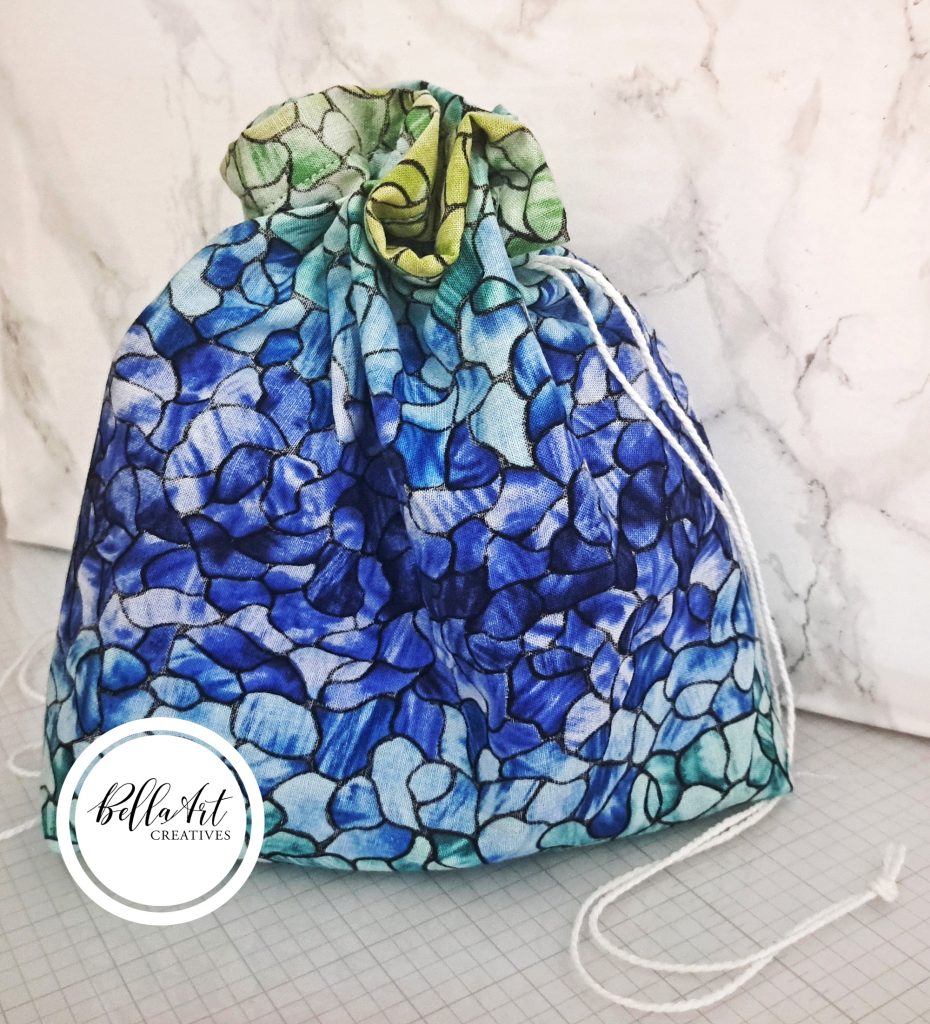
This 2nd video uses a different method because I wanted my drawstring contraption further down and in fact, it’s 2 inches from the top of my largest size bag. I’ll talk more about the ombre blue/green bag later because I was experimenting when I made that. You can watch this video on YT here.
I also followed her instructions exactly for my largest size bag where I cut my fabric to 8-1/2″ width x 14″ length. I love how this bag looks too!
The Experiment
Before I looked at the 2nd video, I was trying to use Lisa’s technique (1st video) to make my ombre blue/green bag without having to rip out the side seams where the cord will go into to close the bag. I just get nervous ripping out any kind of seam.
So, I basically followed that tutorial but I sewed the area for my drawstring to go about 1″ from the top of my fabric bag. I should have sewn that part much further down because it left the raw edges at the top and in order to fix that, I had to fold the fabric twice and top stitch it. This meant the bag wouldn’t show as much fabric at the top plus you can see the stitches on the top even though I matched the thread color.
Bottom line is... it doesn’t look as nice on the inside as on the largest size bag, because the difference between these two methods is you have to sew your outer pieces together separately from the lining fabric (only if you want part of your fabric to show at the top). Lesson learned! It still turned out cute on the outside though!
So, if you’re a sewist, try both methods and tell me which one you like best! Here’s the rest of my pics!


Fabric Choices
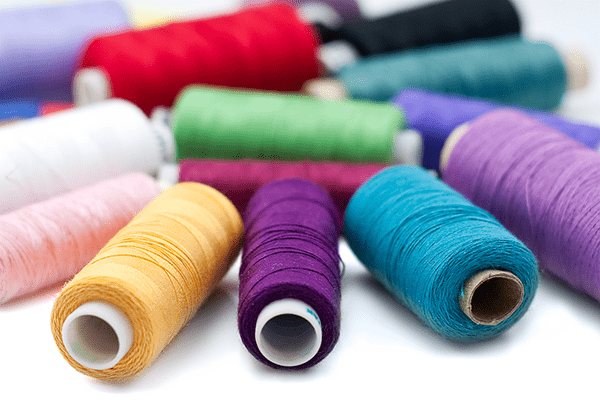
My fabric came from different places. The 1st and last photo, the fabric is from Dollar Tree. The 2nd photo, the fabric is a fat quarter bundle I bought from Amazon and the blue/green bag, that fabric was gift from my sweet friend Kimberly of Kimberly McGuiness Art & Design. All of my lining fabric came from Dollar Tree as well because I just wanted solid colors for that.
You can check out other bags I’ve sewn since I’ve started this journey here.
I primarily used string and chunky bakers twine for my drawstrings, on my wishlist is getting some pretty ribbons. I like how these bags can be any size and perfect for storing things or gift giving which is what I plan to do with my bags.
Thanks for Reading! Links to some basic sewing supplies as well as a few I used on these bags are below!

Some of the links to the products I used are affiliate links which means that when you shop with them, I’ll receive a small commission at no extra cost to you. Your support helps me run my small crafty business. Thank you so much!
- Brother XR3774 Sewing Machine
- Rulers for Sewing/Quilting (set of 5)
- Scissors or Guggenhein IX 9″ Scissors for Cutting Fabric
- Multi-purpose Sewing Clips | Large sized Sewing Clips
- 110/18 Size Universal needles for the Brother sewing machine
- Rotary Cutter
- Self Healing Mat
- Multi-purpose Sewing Clips
- Cotton String
- Chunky Bakers Twine (gray)