Hi my friends! I am soo soo happy to share this post!!! It was a labor of love and I’m super excited! I made sock monkeys for the first time and completely hand stitched!!!! No sewing machine was used in the making of these cuties! LOL 😀
Over this past weekend, I was looking at pictures of sock monkeys. I’ve been fascinated for a little bit as to how to make them. I wanted to try it for the Holidays but didn’t feel like waiting until December. I saw tons of pics but it was a particular picture I came up on that completed inspired me!
Disclaimer:
Before I get started with the post, I’m noting a couple of things:
- I made these 2 sock monkeys entirely myself.
- They were made for personal use and not to sell or donate.
- Inspiration came from the photo from an Etsy seller that I’ve linked to below.
I will not post that picture here because it belongs to an Etsy seller who makes sock monkeys amongst other crafts. You can visit her Etsy store here. Her cute sock monkeys completely made me want to try to make one myself.
Also, I did not buy anything from her shop and I did not have a pattern to make my sock monkeys. All I had was the picture and research notes on how to construct a sock monkey that I found by searching various blogs.
What I Needed to get Started
I loved the idea of using fuzzy socks and I had a couple of pairs in my drawer. So I picked a pink and purple pair. To begin, I watched a few YT videos to figure out how to cut my socks for all the pieces. The main body was easiest after turning the sock inside out and flattening it to lay straight, you only have to cut from the bottom of the sock up to just short before reaching the heel of the sock.
Here’s a list of the other items I used:
- Matching sewing threads
- Black embroidery thread
- Sewing and tapestry needles
- Matching buttons
- Pink ribbon
- Scissors
- Marker (I used a Sharpie)
- Polyfil
- Bow Maker
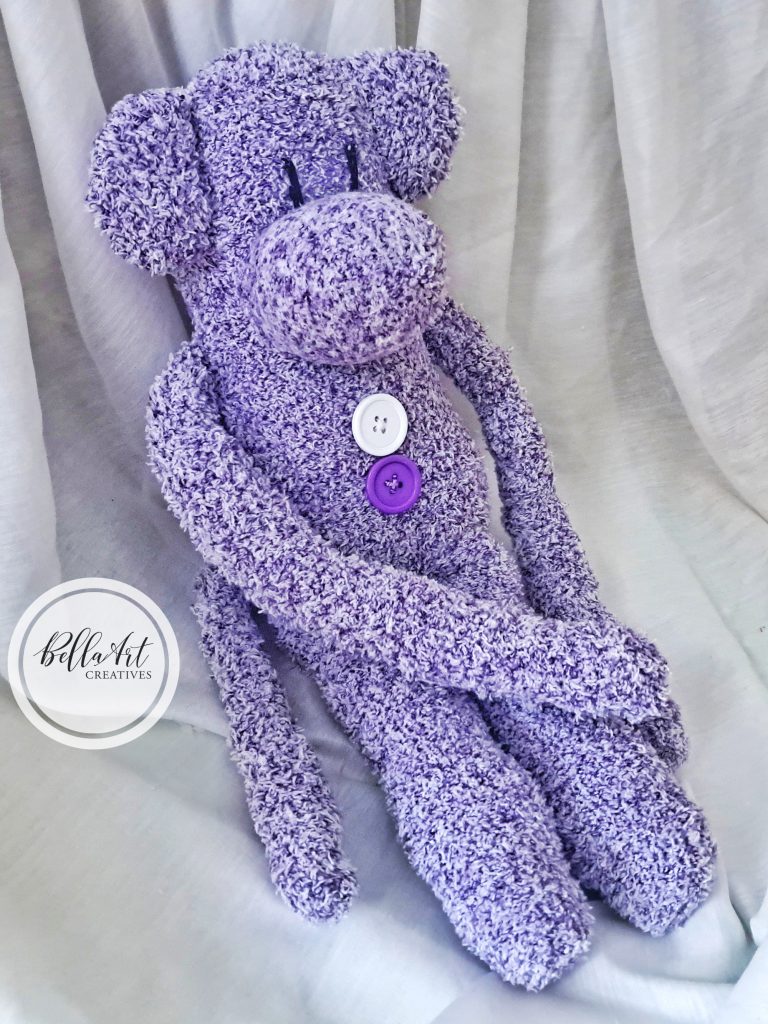
After I marked out all the other pieces on the 2nd sock (the ears, tail, arms, and nose), I hand sewed these pieces leaving small openings so I could stuff with polyfil. I wanted both monkeys to be squishy so I stuffed them pretty generously.
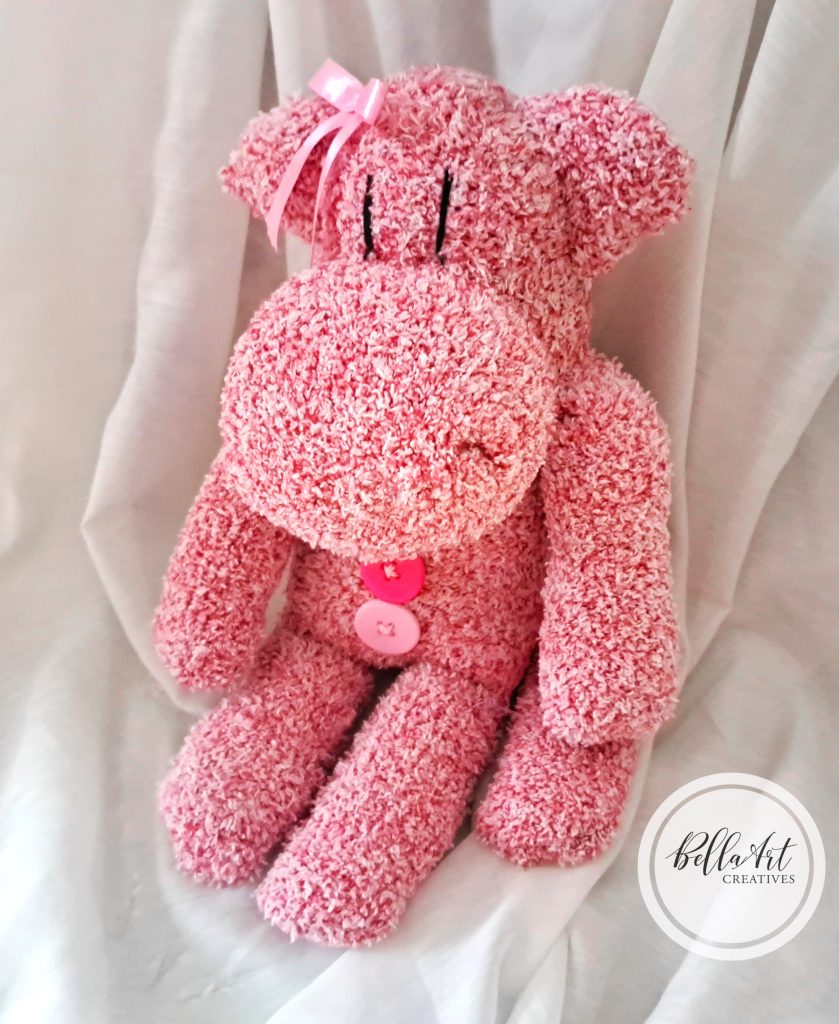
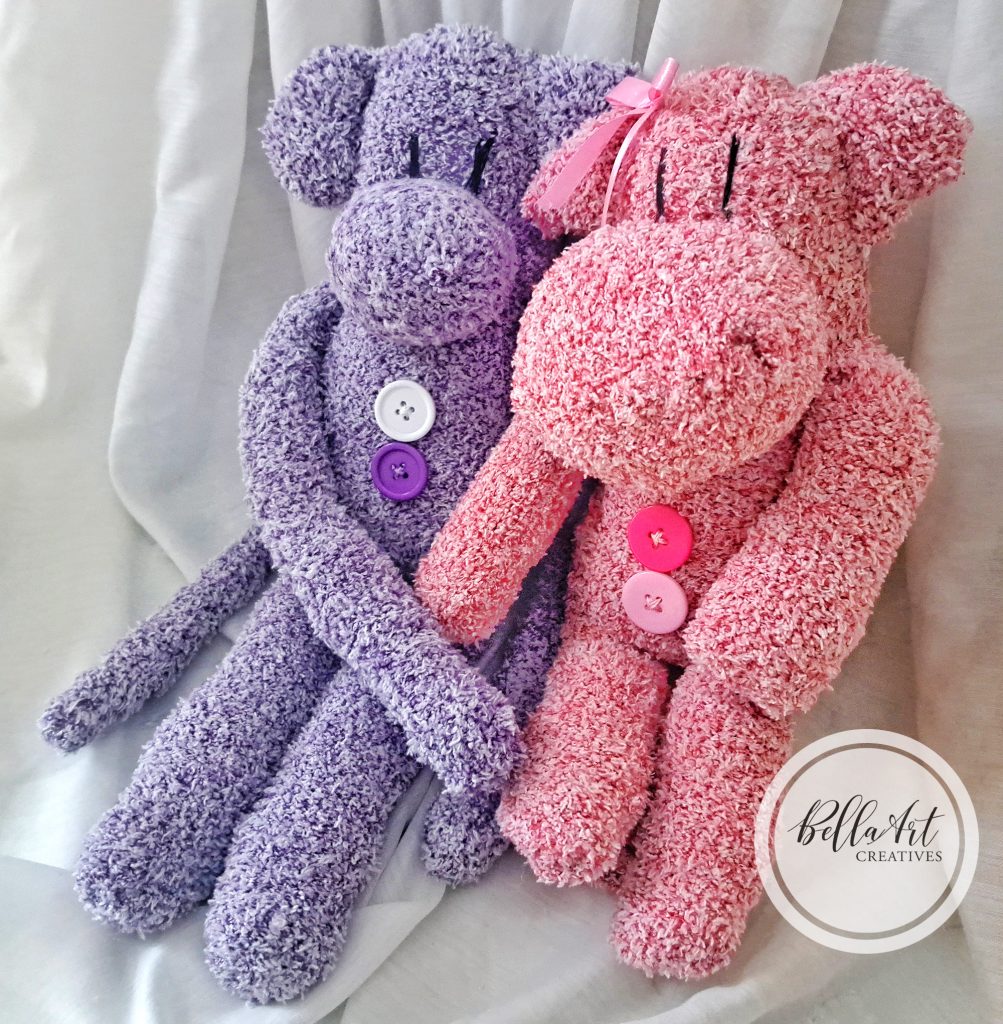
I started making my pink monkey (my socks were knee sock-sized). I didn’t want her to have really long legs so I cut that part a bit shorter.
Since I’ve never made sock monkeys before, I was really nervous but trusted my research and kept going and when she was done, I was too excited! My hand was sore afterwards so I finished her on Saturday and rested.
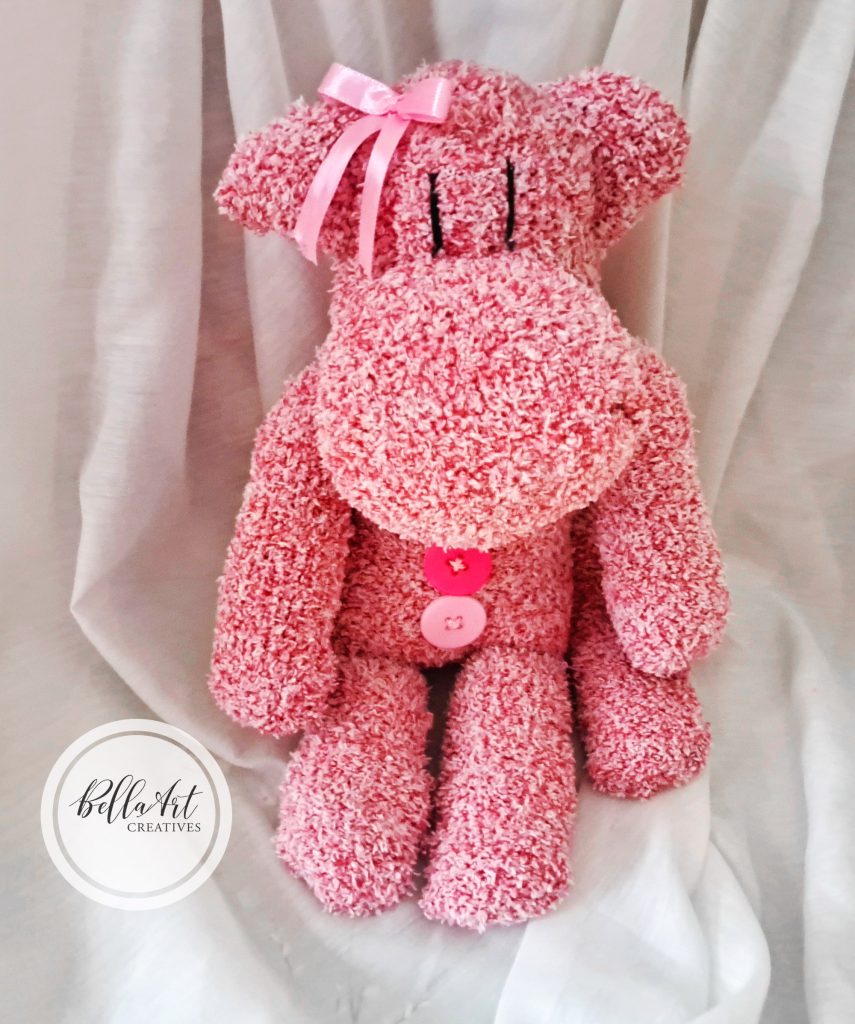
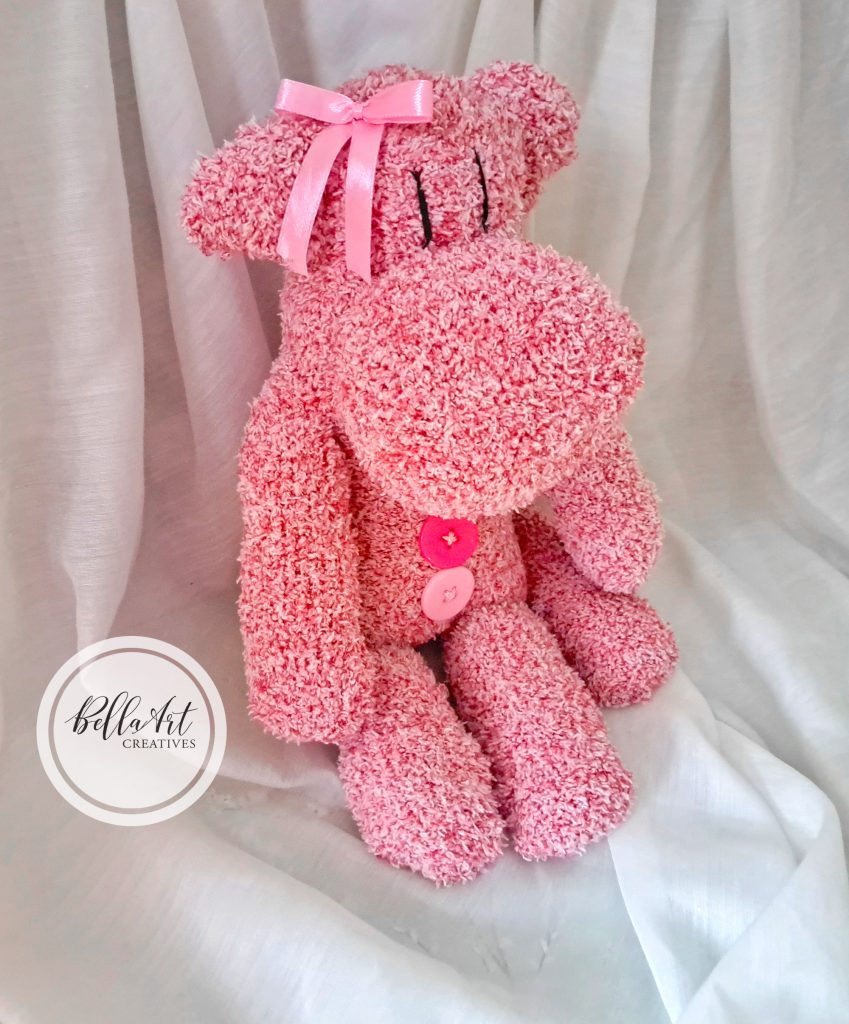
I used a bow maker I purchased on Amazon to make her bow with some pink ribbon from my stash. The set comes with several sizes so I used the smallest size and I hand sewed the bow onto her head. I did not want to use any hot glues for my monkeys.
So, on Sunday after a rest, I decided to make her big brother! I wanted him to have long arms and legs so I used the entire sock for him.
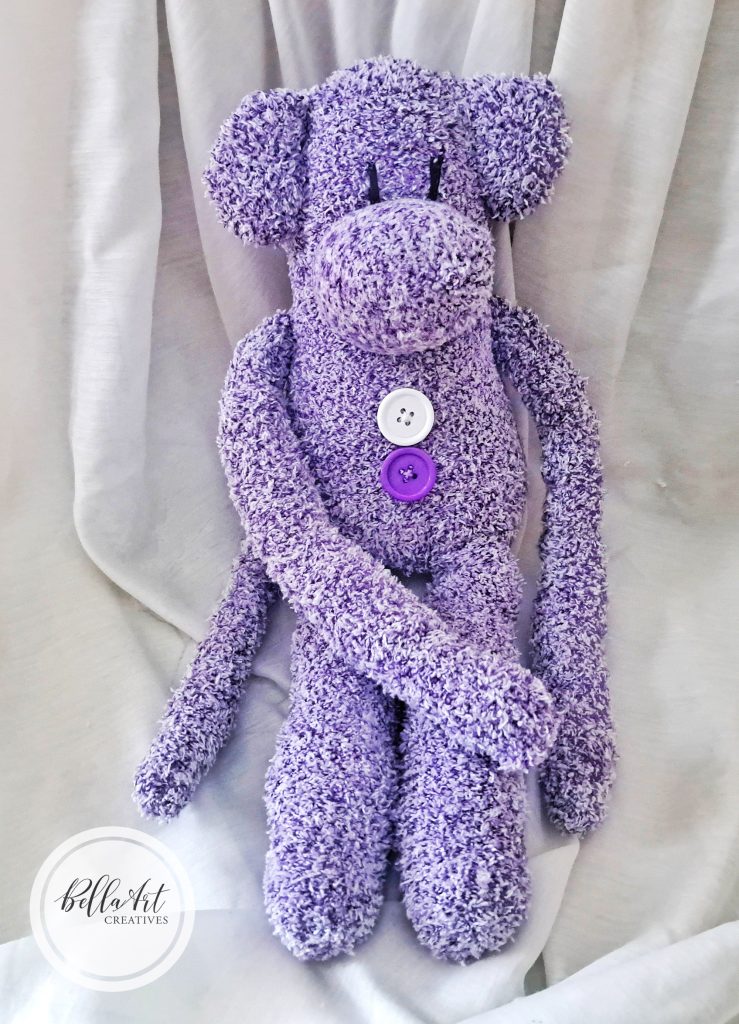
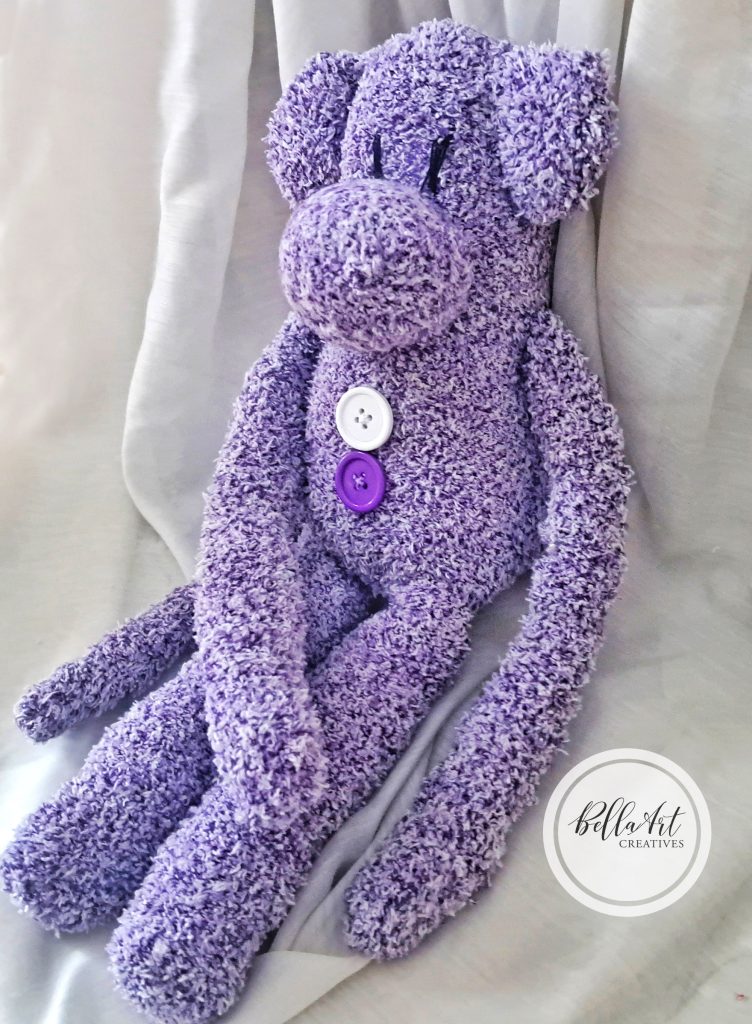
I stitched the eyes with black embroidery thread after I stuffed their heads because it was easier for me to know where to place them. I just love their facial expressions.
More Pics
Lastly, I added the buttons from my collection. And today was a cloudy day so great lighting for taking pics!
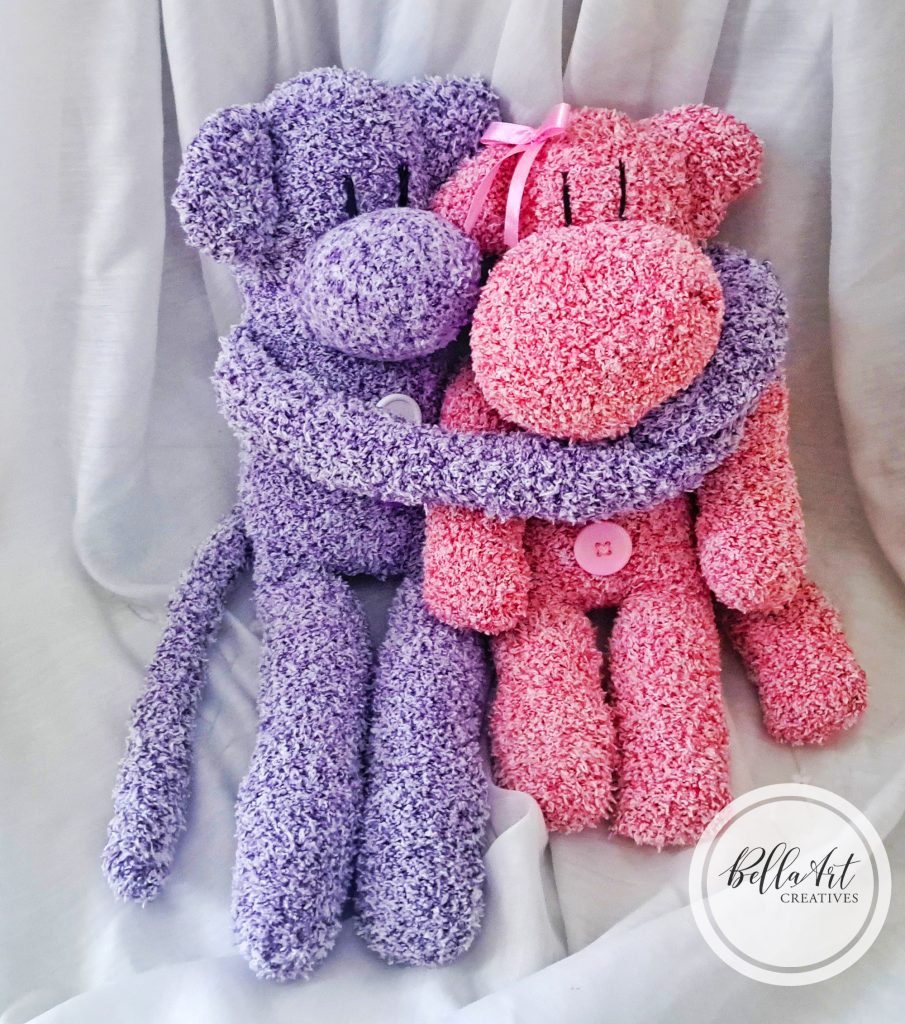
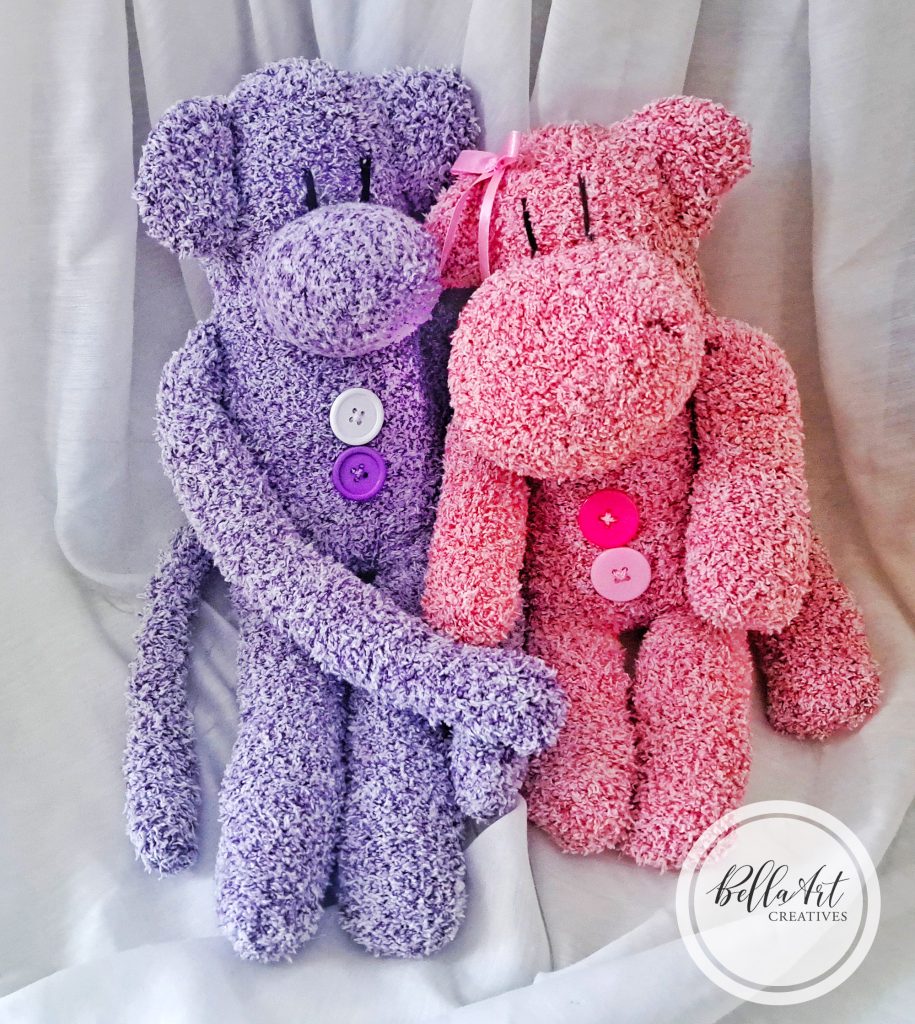

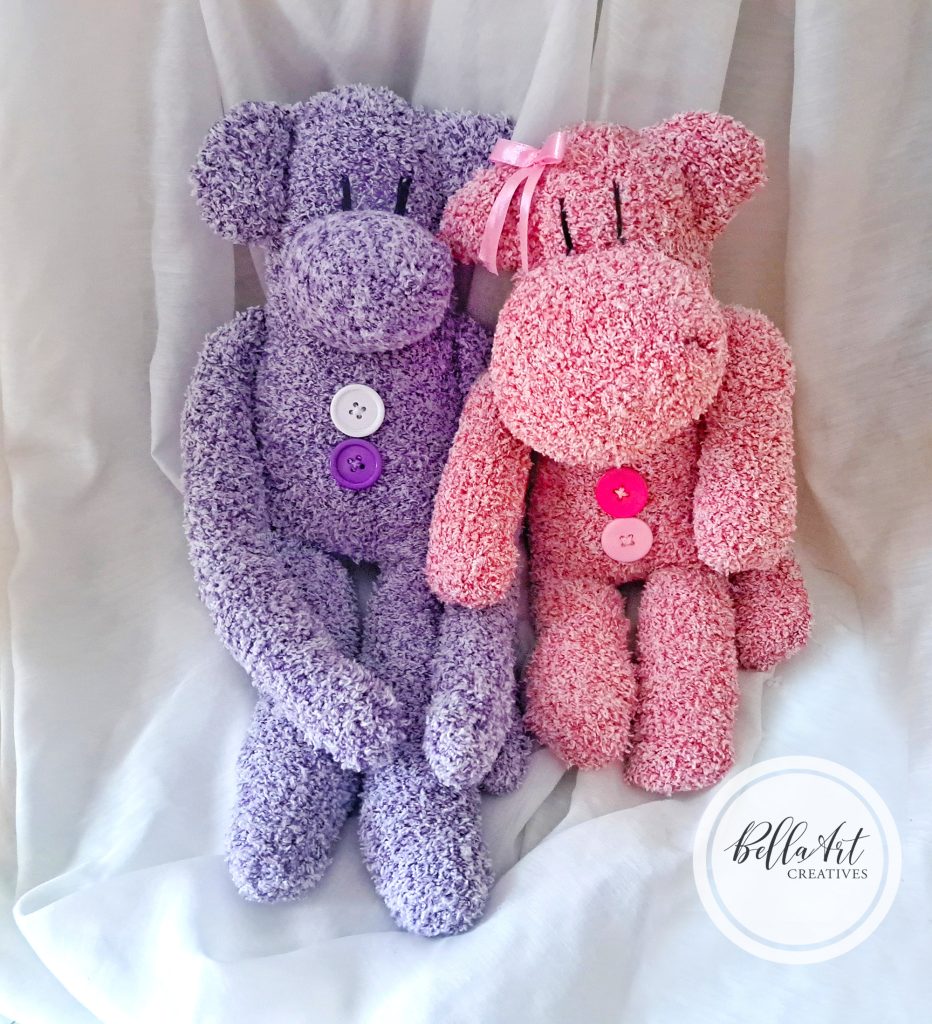
I think they are soooo sweet and soft too!!!! I’m really proud of myself for taking up this challenge. It’s outside my comfort zone to hand stitch a complete project but I really wanted to make them and now they’ll sit on my craft shelf so I can adore them everyday!
Links to most of the products I used are below. Thanks for Reading!

Some of the links to the products I used are affiliate links which means that when you shop with them, I’ll receive a small commission at no extra cost to you. Your support helps me run my small crafty business. Thank you so much!
- Scissors or Guggenhein IX 9″ Scissors for Cutting Fabric
- Fuzzy knee socks I used (but, you can get these from Dollar Tree and they don’t need to be knee socks)
- Assorted Buttons
- DMC Embroidery needles
- Black embroidery thread (comes in a pack of 13 black & white skeins)
- Assorted Buttons
- Assorted ribbons
- Bow maker
- Polyfil
Other Sock Projects I’ve made
I love making sock snowmen! I made a bunch of these years ago for a church bazaar. You can see them here. My plan is to make a bunch for Christmas, stay tuned!