Hi my friends! I’m really excited to share this month’s sewing project me and my BFF have been doing together each month. Last month, we made infinity scarves and if you haven’t seen that post, you can read about it here.
For this month through the end of the year, we’ll be making placemats, Fall/Autumn placemats is this month’s theme. I wish I had enough fabric in my stash to make a set of four, but I didn’t so instead I made one to be a centerpiece.
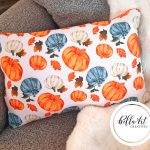
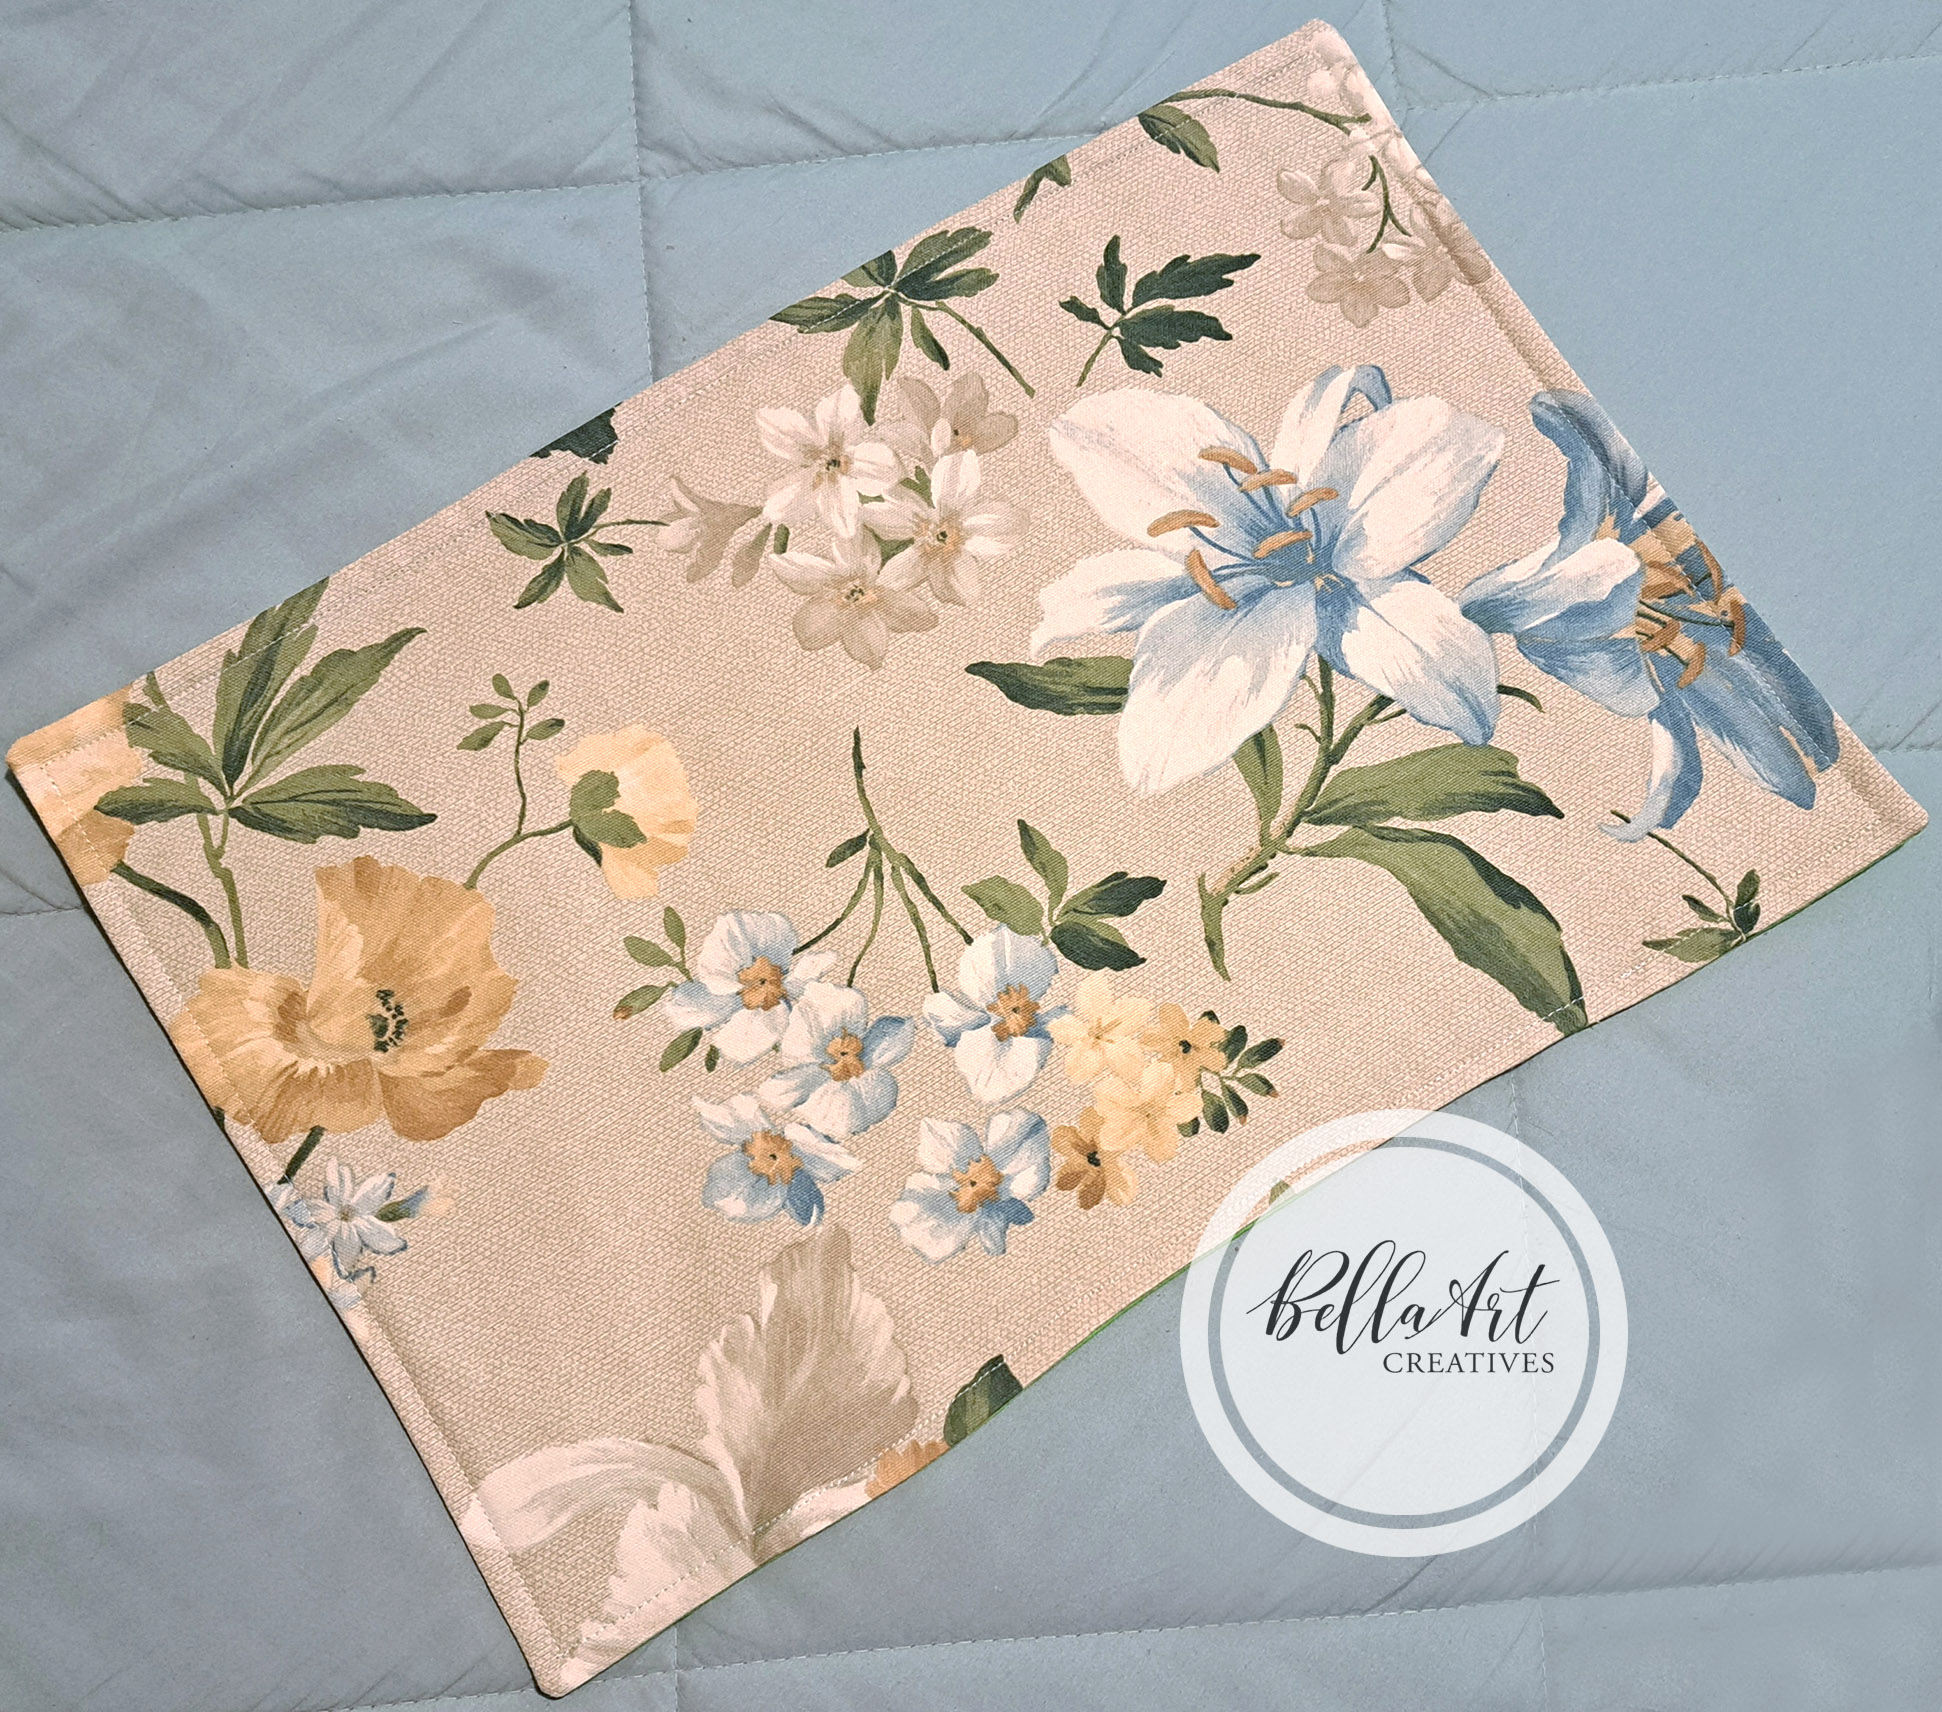
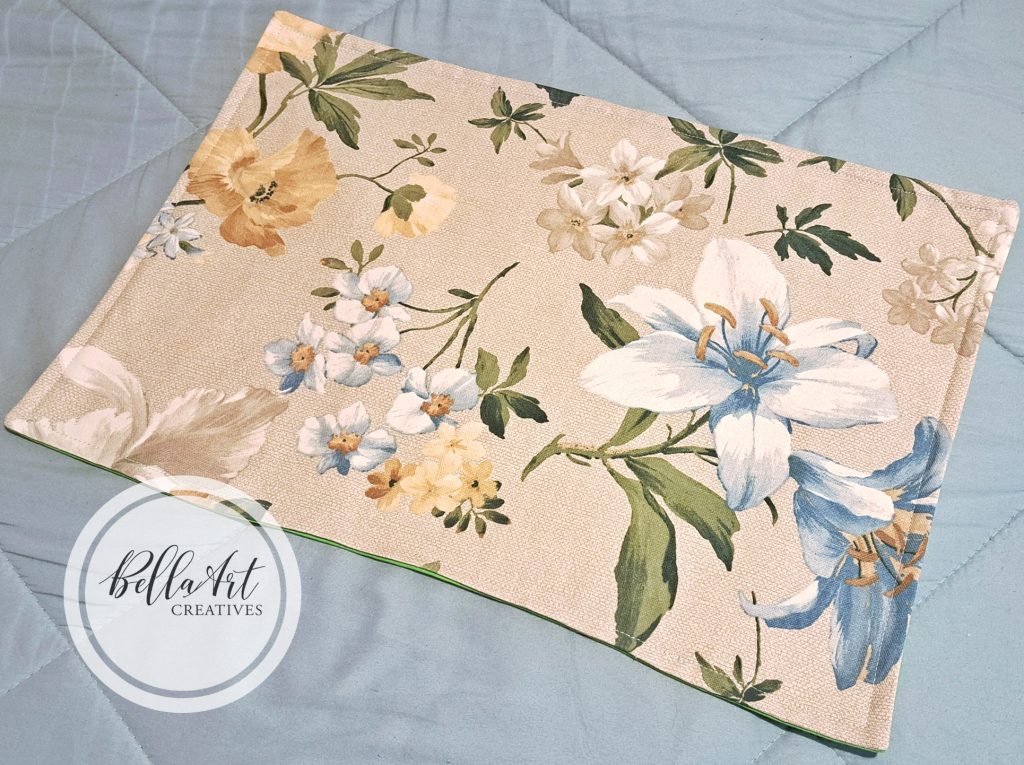
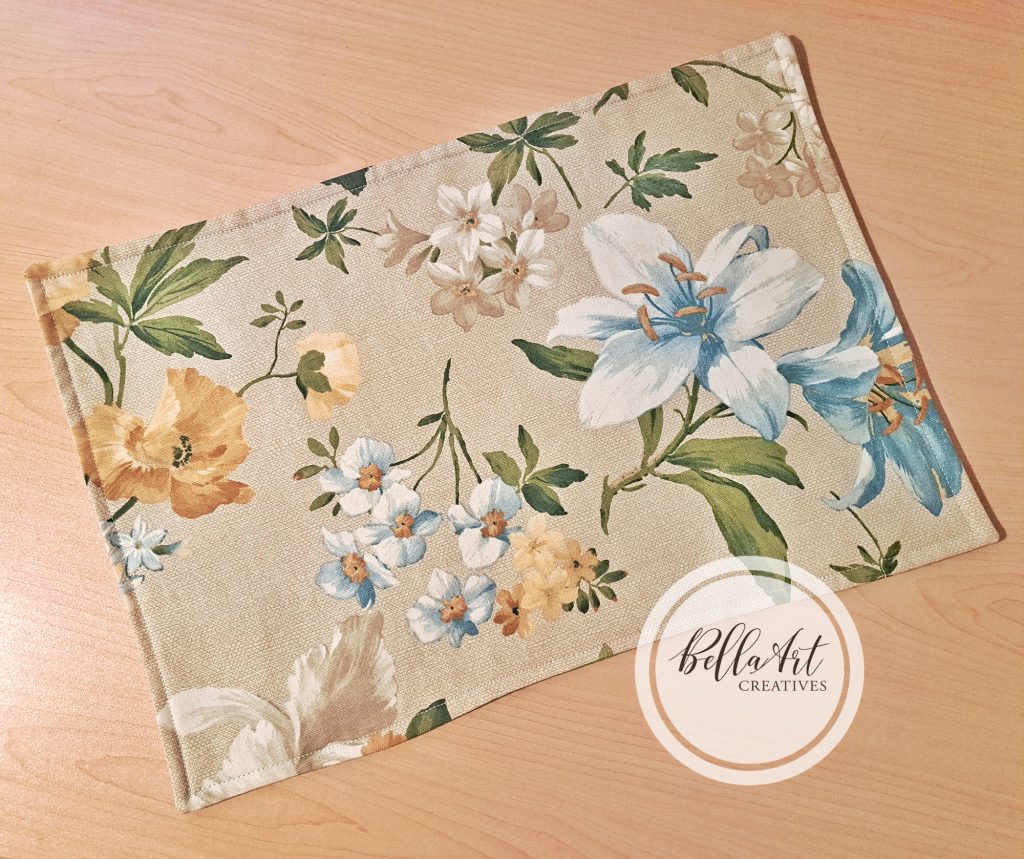
The fabric I used for the front is from my sweet friend, Kimberly of Kimberly McGuiness Art & Design. It doesn’t necessarily scream “Autumn or Fall” but I think the colors and the design works beautifully for this time of year. For the back of the placemat, I decided to use a solid green fabric I bought from Dollar Tree.
The Pattern
Again, normally, we pick a project we’d like to make and then look for a YT video tutorial how to make it. We chose Melanie Ham‘s YT Video for a few reasons:
- This video was meant for beginner sewists, it was part of her “Learn to Sew” video series.
- There’s no binding to do, thank goodness! 😀
- The video isn’t very long and it’s an easy pattern.
I embedded her video that you can watch below, but you can also watch it on YT here.
Before I go further, I just want to say how much I miss Melanie’s videos. I was so sad to learn of her passing a few years ago because I followed her channel. She crocheted as well and I remember making one of her blanket patterns. Melanie was so talented and I’m happy her family kept the channel going because I have sewn a couple of things watching her.
I used fusible fleece iron-on interfacing for my placemat. I also decided to match the thread color for the back fabric which is a lime green but I kept the needle thread white. I started sewing using my presser food that has a moving guide which helps me sew straight lines.
I sewed all the way around leaving about a 4″ inch opening. I did make a slight boo-boo and had to rip out a few stitches, but I caught it early enough so it wasn’t too bad. So, then I turned the fabric right side out, folded in the opening and pressed my placemat really well, then clipped it and I top stitched close to the edge all the way around.
My Little Mishap
Man, I really can’t stand when I make a mistake at the very end, but it happened. I thought I was sewing straight watching only my guide but apparently the fabric shifted slightly on me and I didn’t notice. So there’s about 1/4″ space on the placemat that you can tell my stitches aren’t straight. Unfortunately for me, by the time I saw this mistake, I had finished the placemat. I was so bummed but didn’t feel like ripping out any more stitches.
Regardless of the mistake, it turned out so pretty and I love it anyway! Since, we’re planning to make another one next month, I have plenty of time to practice. I took a bunch of pictures and even close-ups of the fabric and its design because I just think it is sooo pretty!

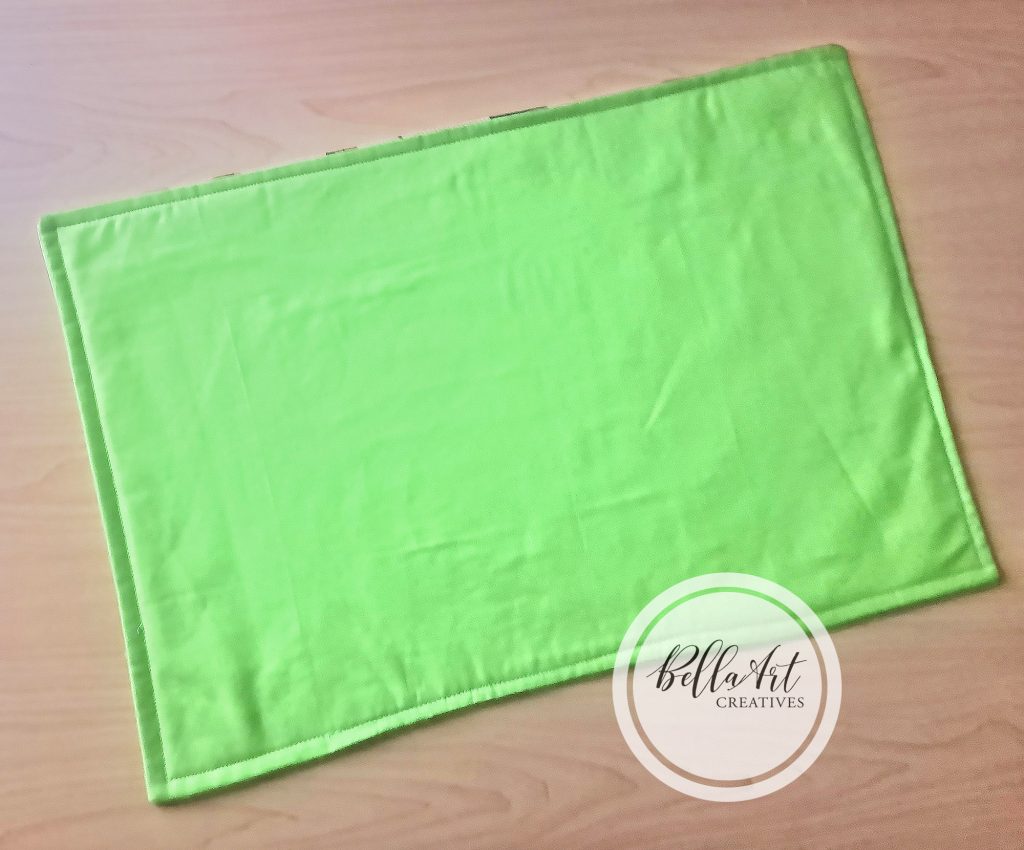
This is the back, a pretty lime green color, my apologies for the blurriness on this picture. I forgot to shoot the back, so I photographed it in a hurry! I loved that I matched my bobbin thread and my stitches look really good. I’m making good progress.
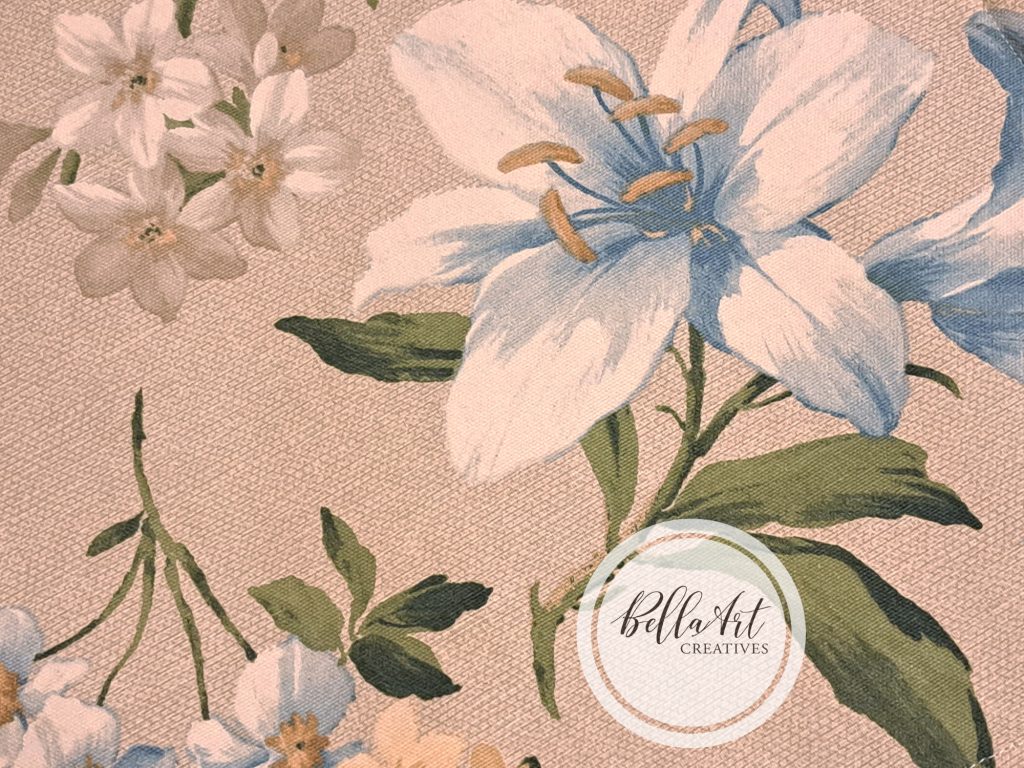
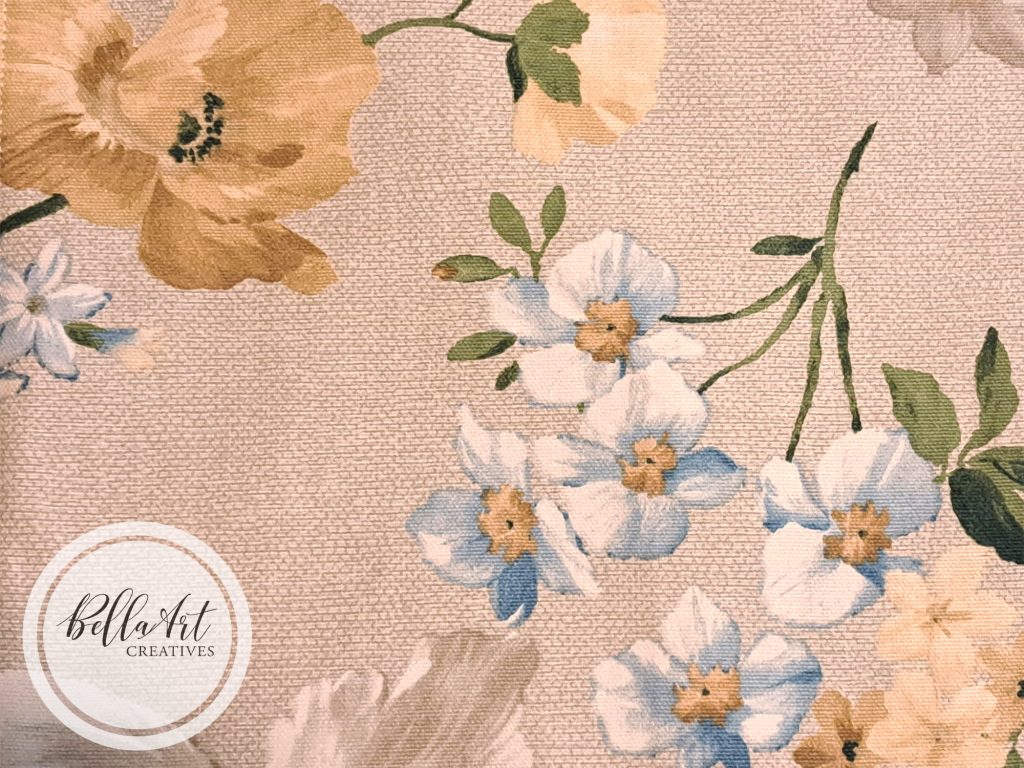
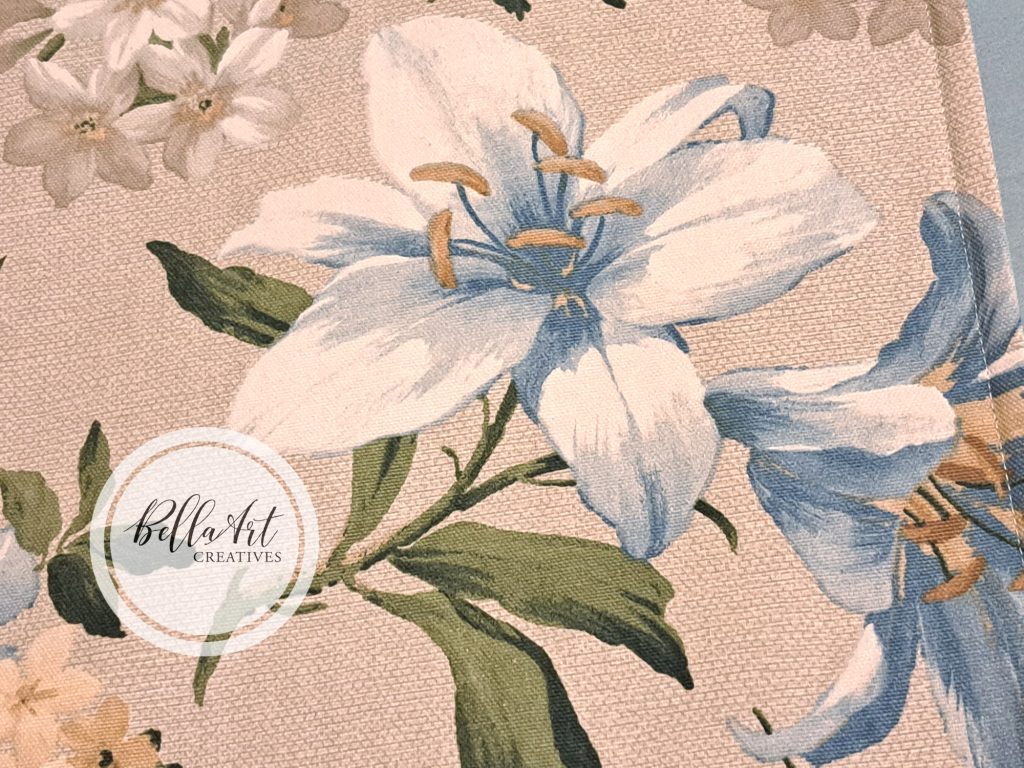
Isn’t this fabric so pretty? It’s a nice heavyweight material but still quite soft.
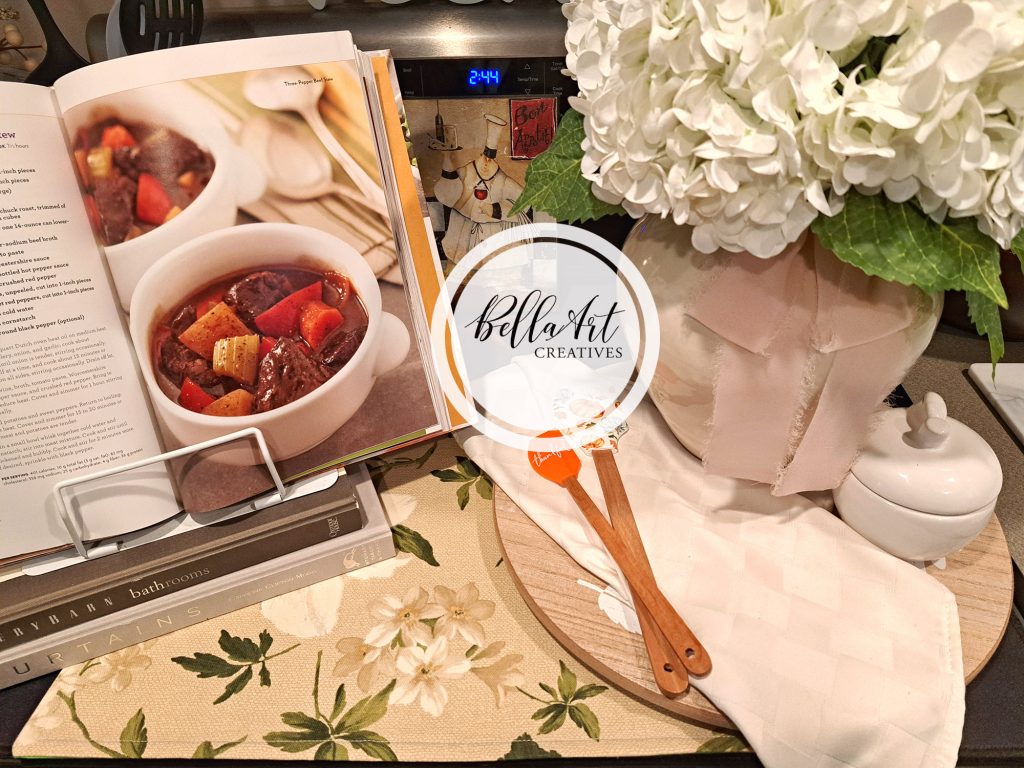
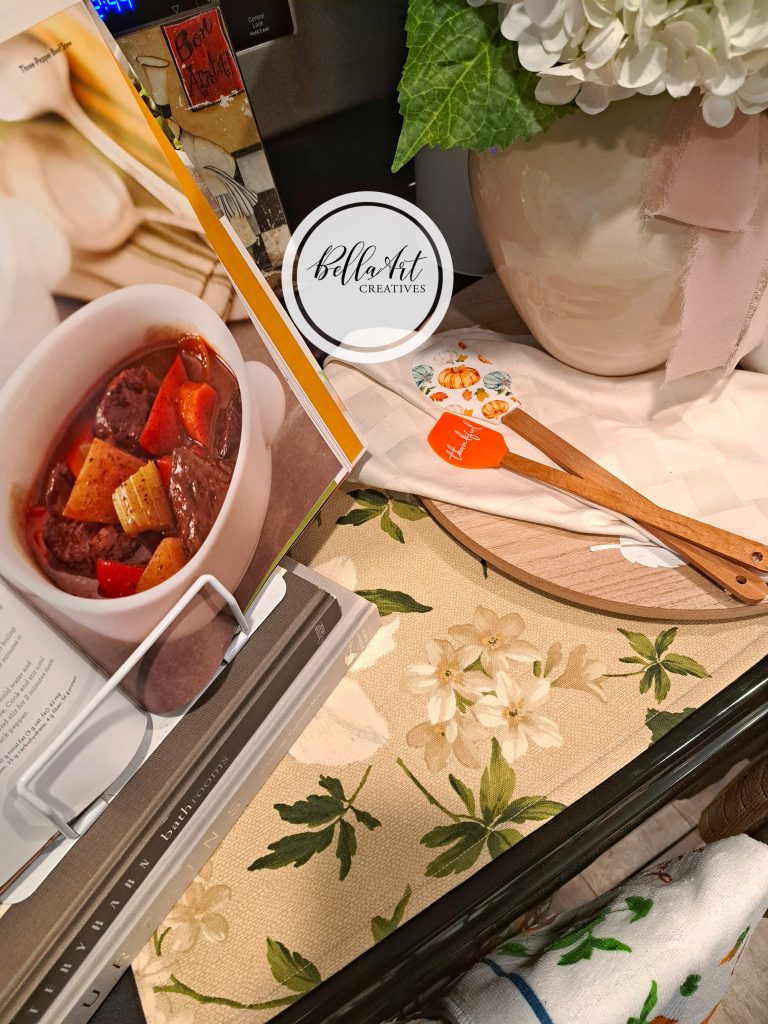
Where did I Display it?
I put it on top of our stove where I normally decorate for all the seasons and holidays. I think it looks so cute there!
How am I feeling about my Sewing Journey?
I’m feeling very good and if I can only stop shooting for perfection, I think I’ll do much better. I don’t give myself enough grace when I’m learning a new skill. Nevertheless, I’ve made some nice things since I started sewing and celebrating my wins is something I should do more 😀 I definitely am hooked!
I’ve got links below to some of my most-used sewing tools below. Thanks so much for Reading!

Some of the links to the products I used are affiliate links which means that when you shop with them, I’ll receive a small commission at no extra cost to you. Your support helps me run my small crafty business. Thank you so much!
- Brother XR3774 Sewing Machine
- Rulers for Sewing/Quilting (set of 5)
- Scissors or Guggenhein IX 9″ Scissors for Cutting Fabric
- Multi-purpose Sewing Clips | Large sized Sewing Clips
- 110/18 Size Universal needles for the Brother sewing machine
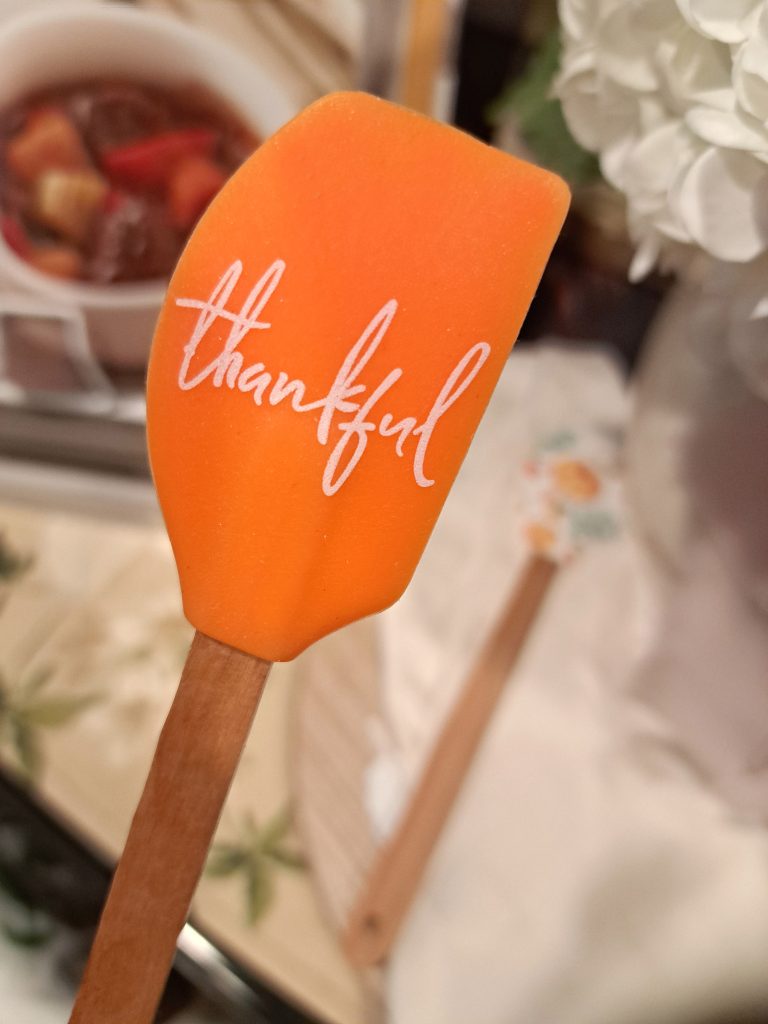
I’m so thankful to you for your support and thankful to Jesus for my life and the journey He has me on.